
Last updated September 20, 2026
Free on-site gate assessment - hinges, posts, and your LiftMaster or Nice gate operator checked before anything is quoted
The assessment is free and the quote is the invoice.

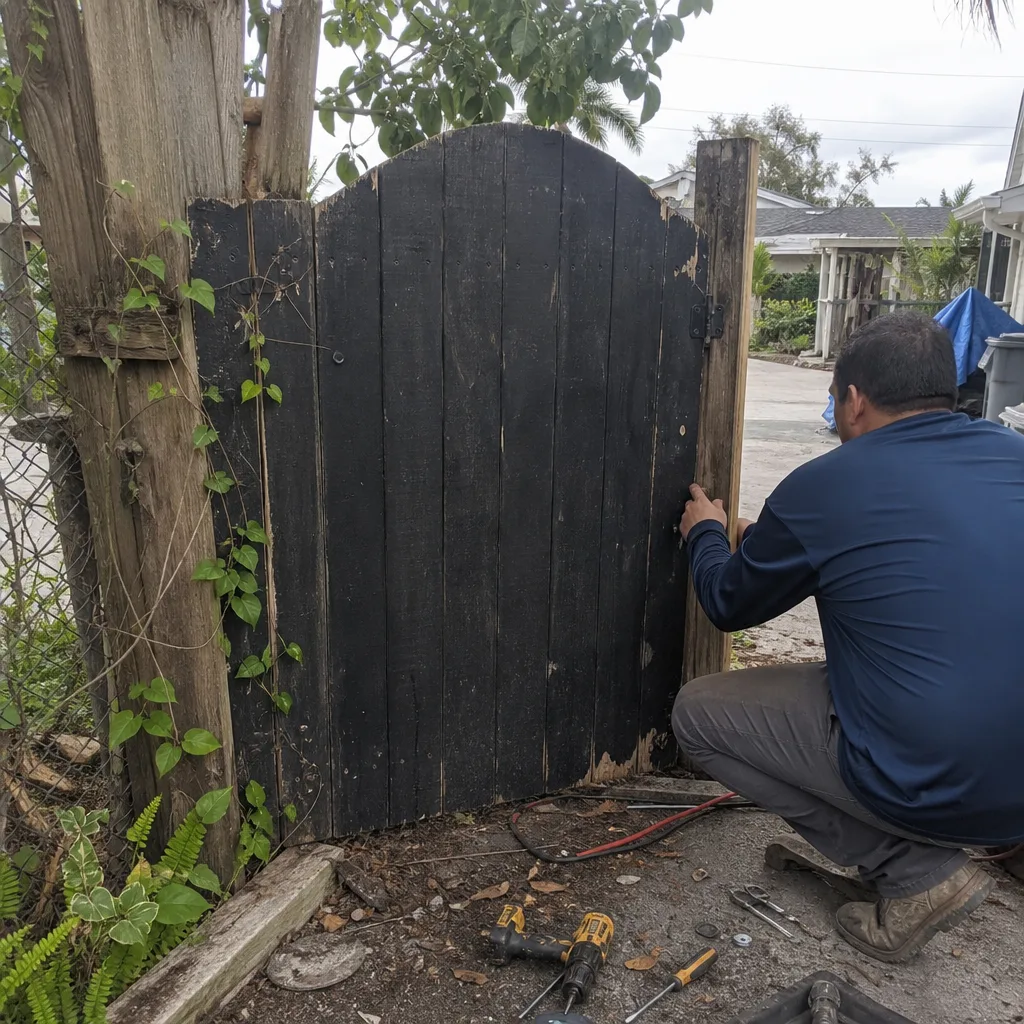 Before
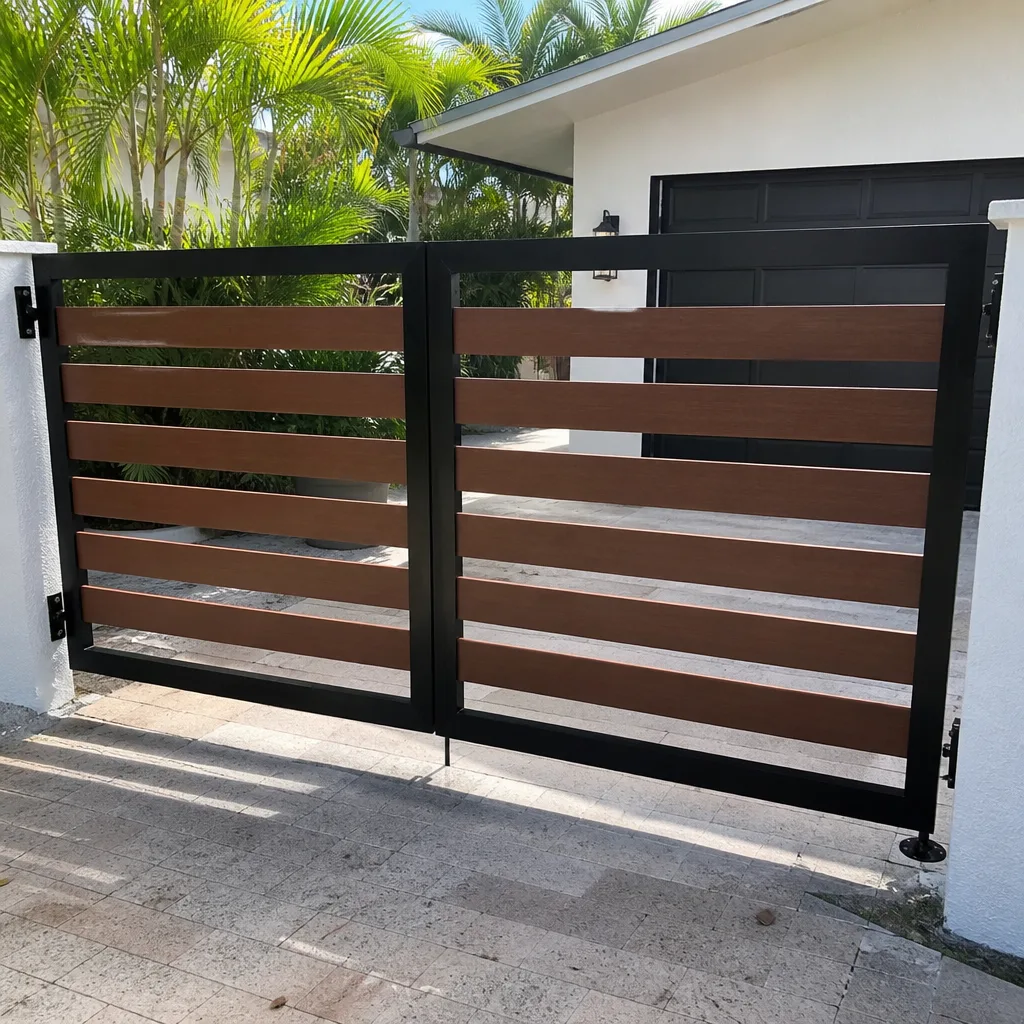 After
After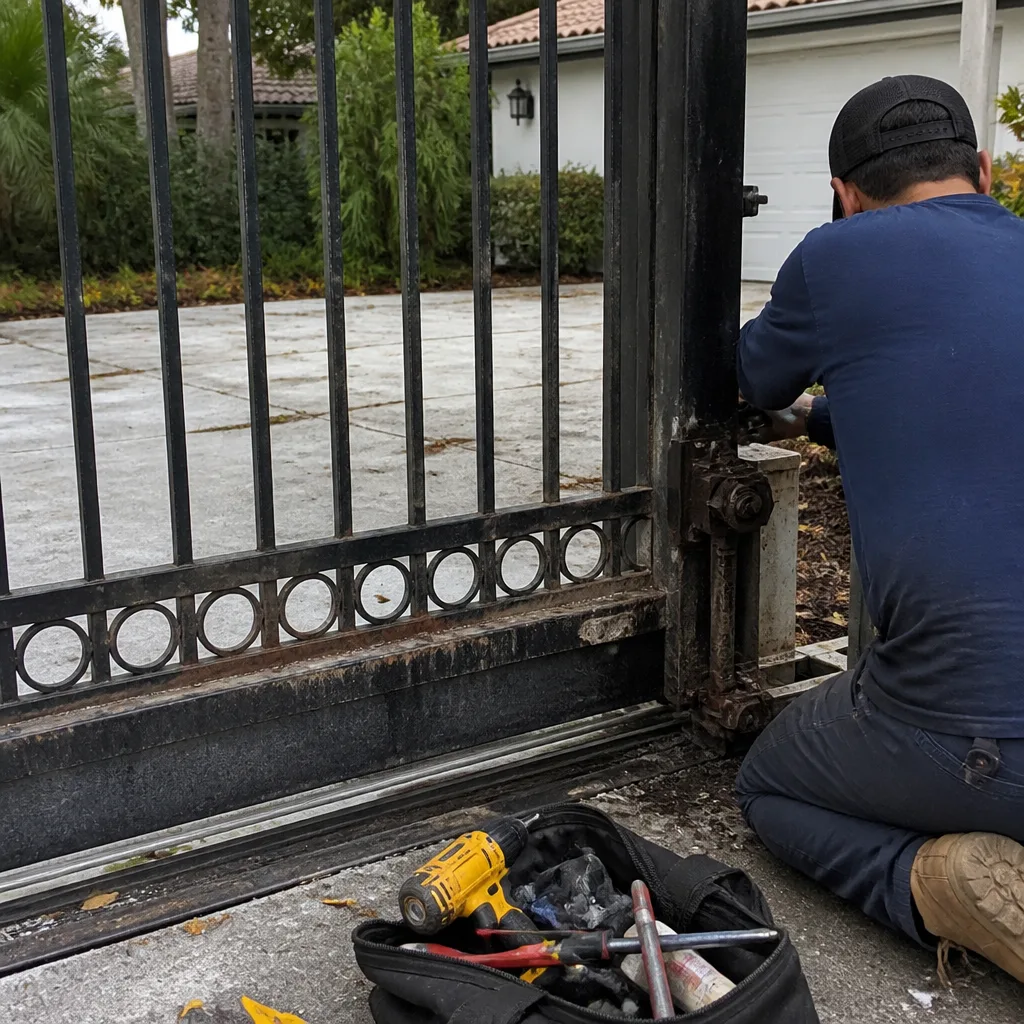 Before
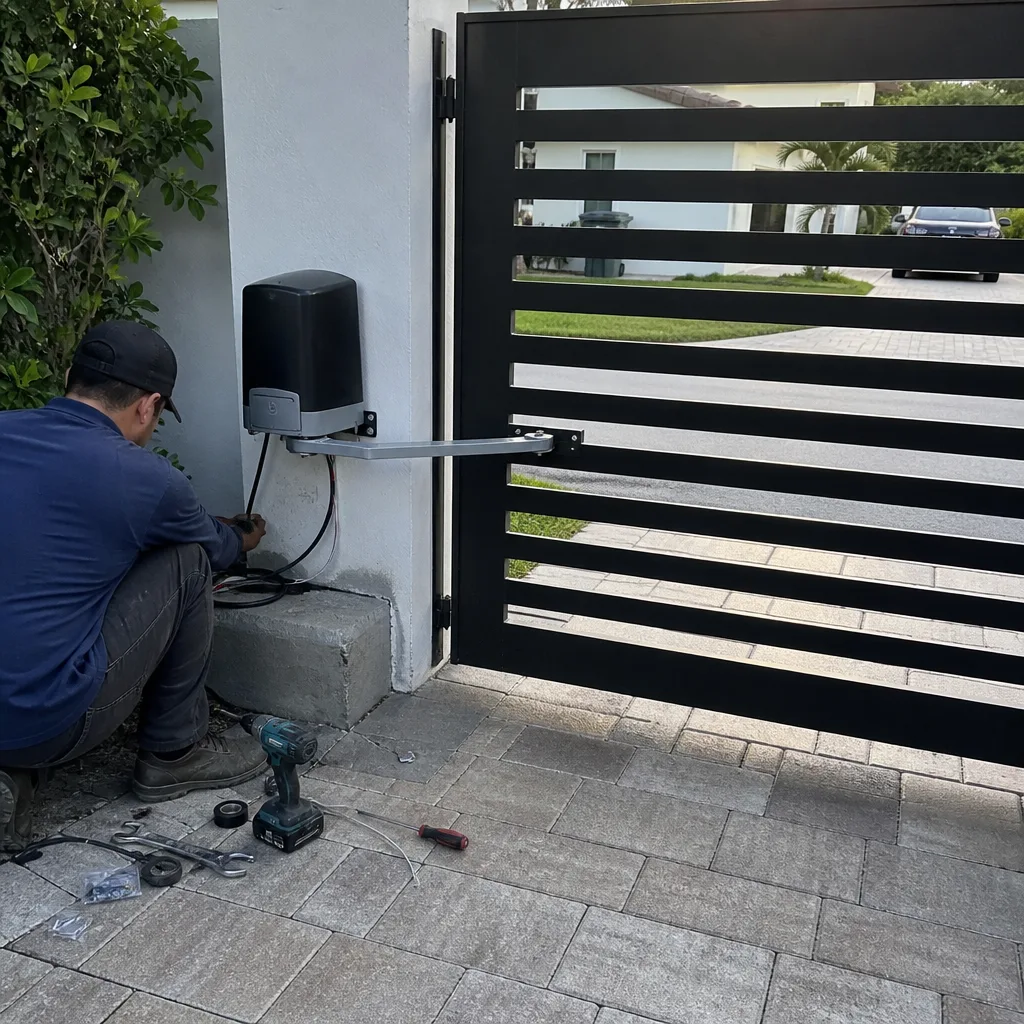 After
After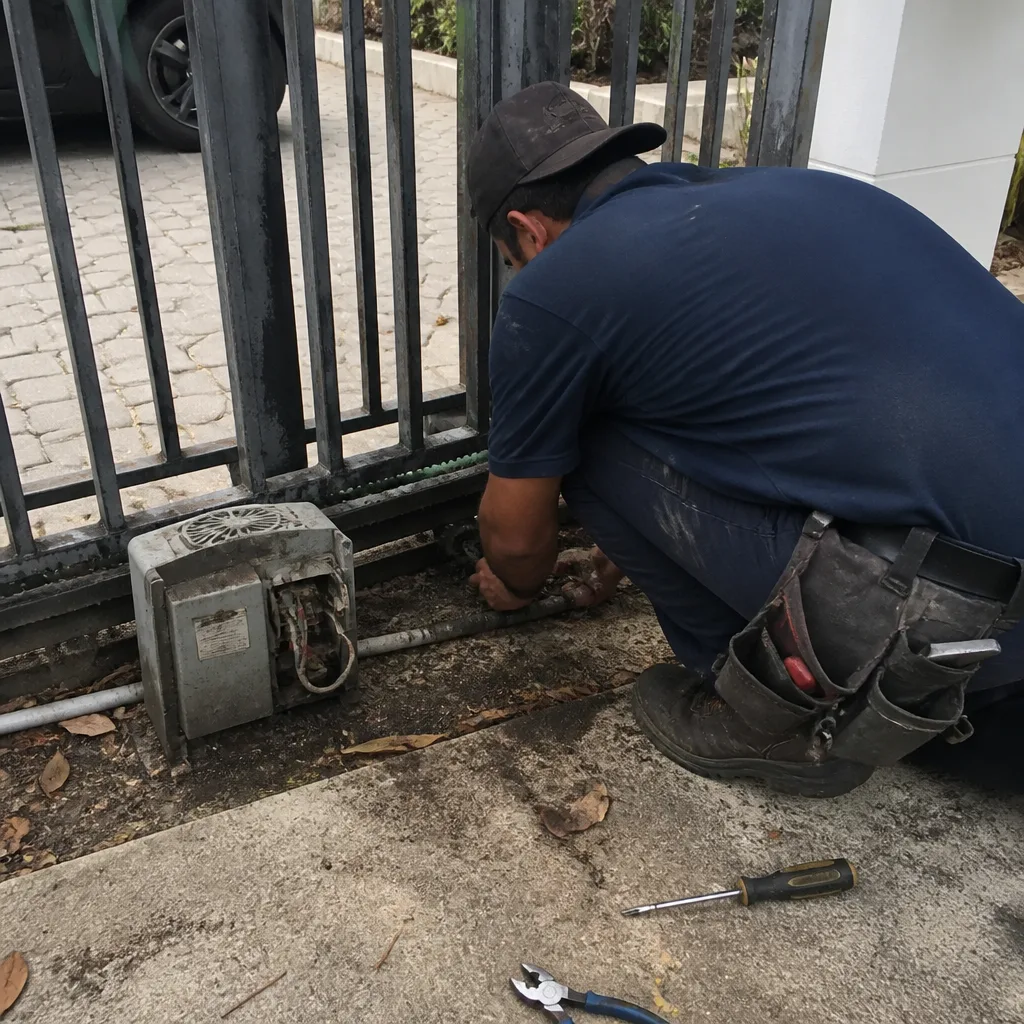 Before
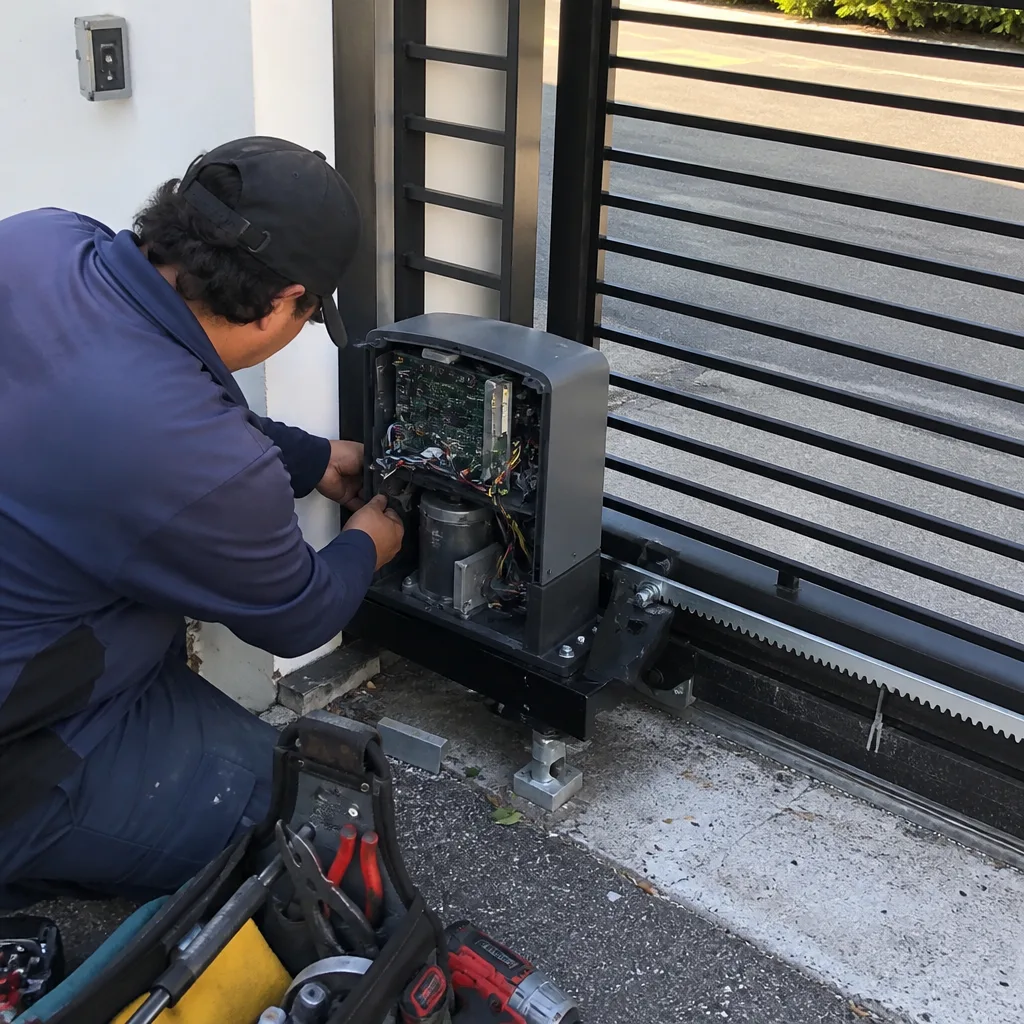 After
AfterDIY vs Professional Gate Repair: The Fort Lauderdale Homeowner’s Decision Guide
A gate that won’t open isn’t like a sink that drips or a drawer that sticks. The fix might be a $12 hinge, or it might be a control board wired into 24V DC current running through a box that has been sitting in salt air and ninety-degree humidity since 2016. What separates those two jobs isn’t your skill with a drill. It’s whether the repair touches wiring, firmware, safety sensors, or anything a permit inspector in Fort Lauderdale would care about. That’s the line most DIY guides don’t draw, and it’s the one this guide draws clearly, task by task.
Quick Answer
For mechanical tasks like tightening hardware, replacing a hinge, or greasing rollers, DIY is reasonable. For anything involving gate operator wiring, control boards, safety sensors, or the motor itself, hire a licensed professional. The dividing line is simple: if the repair touches electricity, it can void your warranty, create a fire risk, and leave you personally liable if someone gets hurt.
Table of Contents
- The Repair Matrix: What You Can Do vs What You Shouldn’t
- 24V DC Wiring: Where “Low Voltage” Stops Being Low-Stakes
- What DIY Repairs Actually Void on Gate Operator Warranties
- Permits, Liability, and Your Homeowner’s Insurance
- How Fort Lauderdale’s Climate Changes the DIY Calculation
- What to Document If You Do Complete a DIY Repair
- Parts, Brands, and Compatibility: The Hidden Trap
- What DIY Actually Saves You: A Real Cost Breakdown
BeforeAfterThe Repair Matrix: What You Can Do vs What You Shouldn’t
Let’s start with the tasks themselves. A surprising number of gate problems are mechanical, not electrical. The gate drags, it sticks, it makes a grinding noise. These are often fixable with basic tools and an afternoon. But the moment you open the cover on a gate operator and see a circuit board, you’ve crossed into different territory.
Here’s Gate Repair Cost Breakdown: The Fort Lauderdale Homeowner’s Reference for 2026, based on what we see across Fort Lauderdale every week.
Tasks That Are Reasonable for a Homeowner
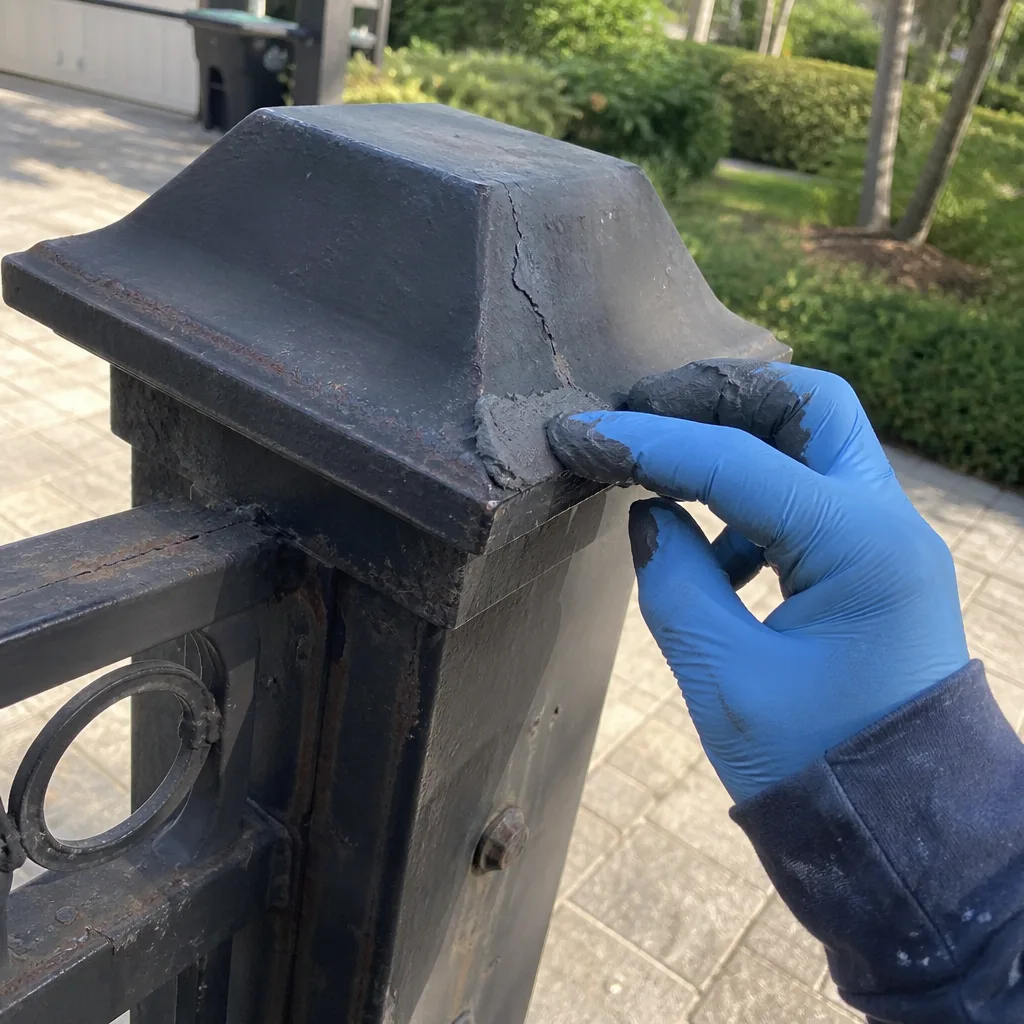
- Removing rust and applying cold galvanizing spray to the gate frame – salt air in Fort Lauderdale means surface rust is constant. This is grinder work, not electrical work.
- Tightening loose hinge bolts with a torque wrench – if the gate sags but hardware isn’t cracked, tightening is safe. You need the right torque spec, usually stamped on the hinge or in the original install documentation.
- Greasing bearings and rollers with white lithium grease – the rollers at the bottom of a sliding gate take abuse from sand and salt. Grease them every few months.
- Cleaning the photo-eye lenses – a paper towel and glass cleaner fixes a surprising number of “gate won’t close” problems. The photo-eye is the infrared beam near ground level that stops the gate if something crosses the path.
- Trimming vegetation that blocks the gate path or beams – Bougainvillea and sea grape grow fast here. If the gate reverses mid-travel, check for leaves crossing the sensor beam first.
Tasks That Require a Professional
- Any repair inside the operator housing – the control board, limit switches, capacitor, transformer, or motor wiring. Even “just checking” with a multimeter can short the board if you probe the wrong terminal.
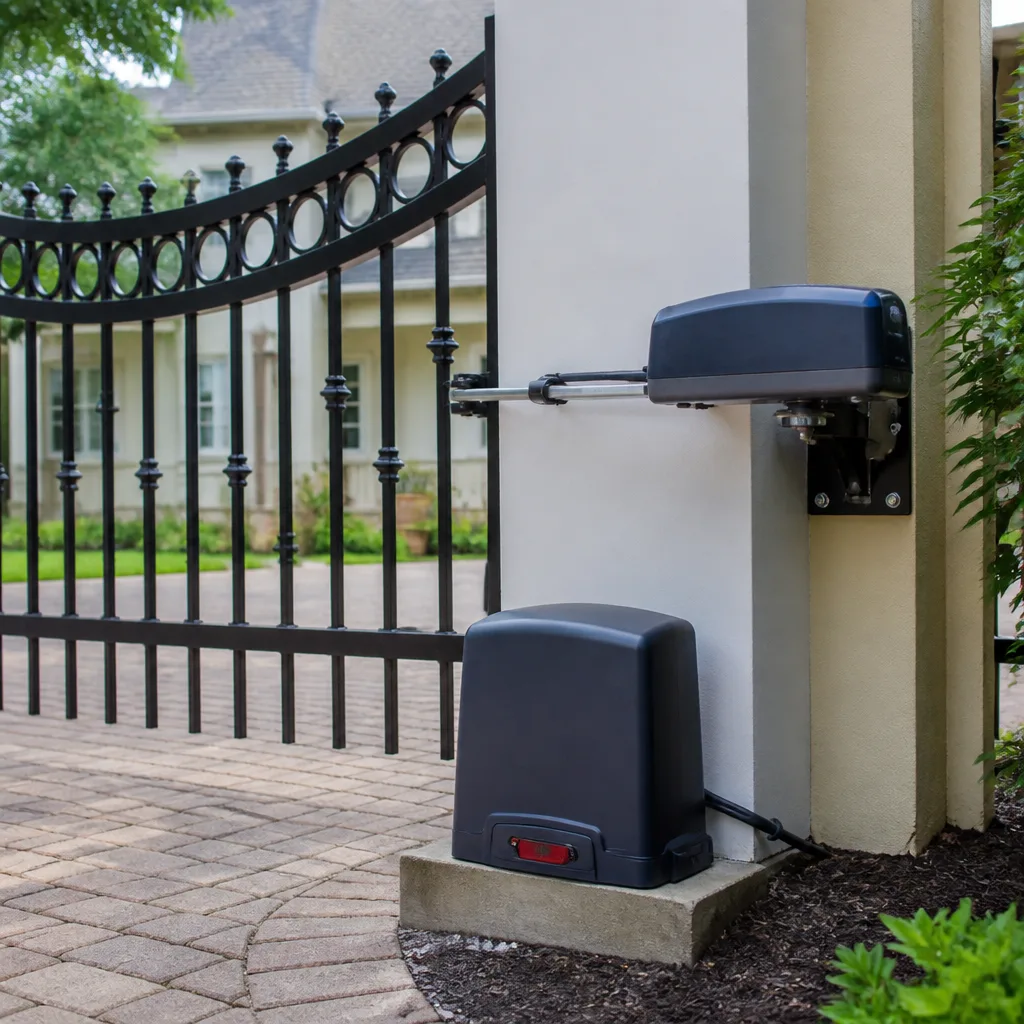
- Replacing or retensioning a swing gate operator arm – the arm carries the gate’s full weight through its travel. An incorrect mount angle can tear the operator off the post within a month.
- Adjusting safety sensors, force settings, or auto-close timing – force settings are a UL 325 safety compliance issue. Set it too high and the gate can crush a person or pet. That’s not a “fine-tune it later” problem.
- Rewiring any connection between the operator and a keypad, intercom, loop detector, or vehicle sensor – poor wire splices in humid air corrode, and an intermittent connection in a safety circuit can cause the gate to behave unpredictably.
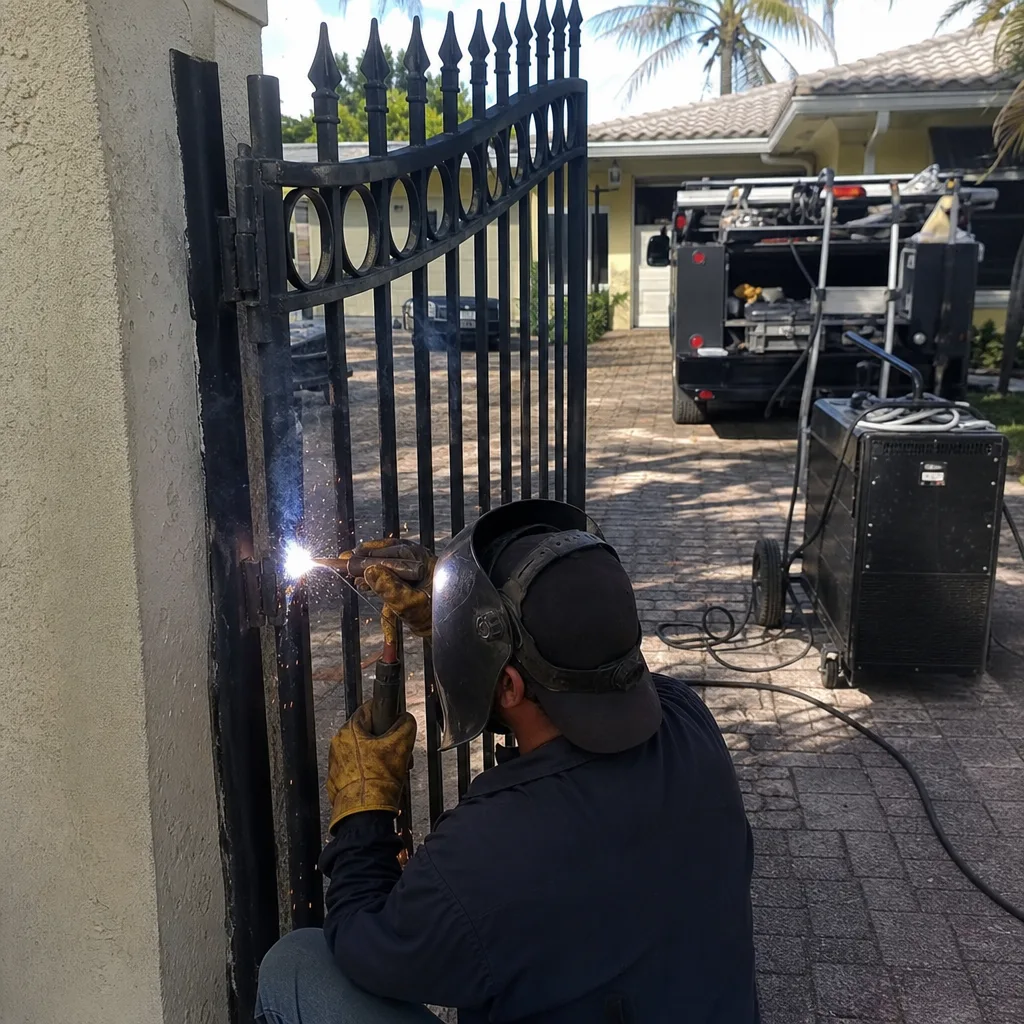
- Repairing welding cracks at a hinge or stress point – if a weld cracked, the metal fatigued. Re-welding without addressing the root cause means it cracks again, and a gate that falls off its hinge can kill someone.
24V DC Wiring: Where “Low Voltage” Stops Being Low-Stakes
A common DIY defense is “it’s only 24 volts.” True, most residential gate operators in Fort Lauderdale run on 24V DC at the motor and control board. That’s below the 30V threshold where the National Electrical Code starts treating things as higher-risk. But 24V DC in a Florida gate operator is not the same as the 24V wire running to your doorbell.
Here’s what “low voltage” doesn’t tell you.
The transformer converts 120V AC household current down to 24V DC. That 120V AC side is live the moment the breaker is on. You’re working inches from it every time you open the housing. In a humid Fort Lauderdale afternoon, the inside of that housing may be wet enough to make a shock on the 120V side more likely, not less.
Capacitors hold a charge even after power is cut. Gate operators use capacitors to provide the torque surge that starts a heavy gate moving. That stored energy can be enough to give you a serious jolt or damage the board if discharged through the wrong path. A discharged capacitor is a required step before any board-level work. Skipping it because “the breaker’s off” is how boards get fried.
Shorting a board costs real money. A replacement LiftMaster or FAAC control board runs $180 to $400 for the part alone, before labor. Touch the wrong two terminals with a metal screwdriver and you’ve just turned a $40 relay into a $300 board replacement.
Corrosion is a multiplier. Fort Lauderdale’s salt air and humidity accelerate what a wiring mistake would do slowly anywhere else. A loose wire nut that would take a year to fail in Arizona will fail in six weeks here. The 24V DC side is also where condensation pools inside the housing, meaning the low-voltage terminals are often sitting in moisture.
This is the reality we see on service calls: a homeowner opened the housing to “replace a fuse,” left the cover ajar, and next rain, water got in and took out the whole board. The repair went from $25 to $600 because of a $3 gasket.
What DIY Repairs Actually Void on Gate Operator Warranties
Manufacturer warranties on gate operators are worded carefully, and they all share a common exclusion: damage caused by unauthorized modification or repair. The question isn’t whether you’re capable. It’s whether the manufacturer can prove you were inside the unit. They can.
Here’s what specifically voids warranty coverage on the brands we service:
- Opening the operator housing and altering any internal wiring. LiftMaster and FAAC warranties both state that tampering with internal connections voids the warranty if a subsequent failure traces back to that work. Even if your splice was good, the fact that you were in there gives the manufacturer a reason to deny the claim.
- Replacing a control board yourself. Mighty Mule and BFT warranties require replacement by a qualified installer. If you install the board and it fails 90 days later, the manufacturer will ask who installed it. “I did” ends the conversation.
- Using non-OEM parts inside the housing. A generic capacitor from an electronics supply store may be electrically compatible but won’t have the exact specifications the operator design assumes. When the board fails, the warranty inspection looks for non-OEM components first.
- Adjusting force settings without documented calibration. If the gate is later involved in an entrapment incident and the investigation shows the force was set higher than the factory default with no photo documentation of the calibration, the manufacturer walks away. No documentation, no coverage.
What does a voided warranty actually cost? A control board that fails under warranty gets replaced for free, parts and sometimes labor. A board that fails outside warranty is $200 to $500 plus labor. We’ve replaced boards in Fort Lauderdale where the homeowner’s DIY repair voided a warranty that would have covered the exact part that failed six months later. That’s the thing about gate operators: one component failing often stresses the next component, and the timeline isn’t always immediate.
Permits, Liability, and Your Homeowner’s Insurance
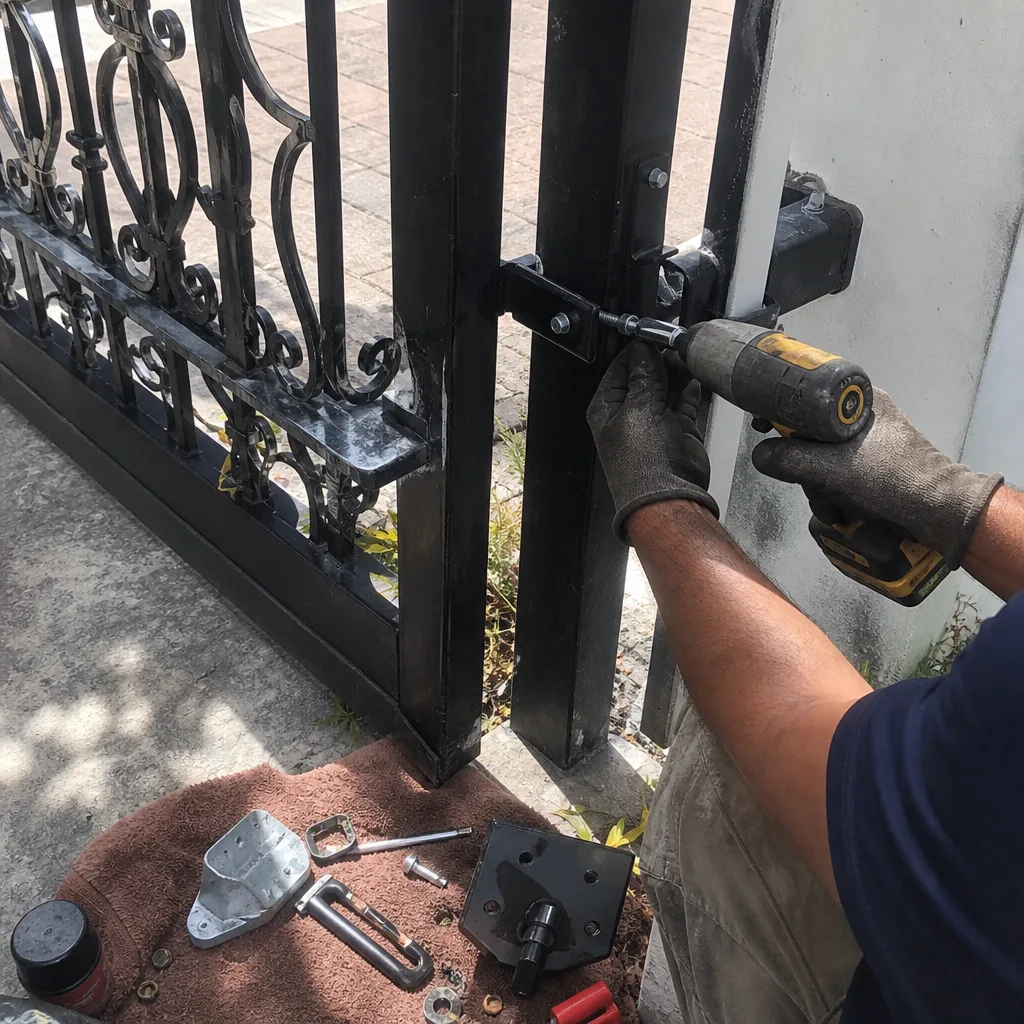
This is the section almost no one writes about, and it’s where the DIY decision in Fort Lauderdale gets legally serious.
In Florida, electrical work on a permanently installed appliance typically requires a permit, depending on the municipality. Fort Lauderdale follows the Florida Building Code, and the code’s position on gate operators is clear: they are electrical installations. If you’re running new wire to a gate operator, adding a circuit, or replacing an operator that’s hardwired to a dedicated circuit, that’s permitted work. If a homeowner self-performs that work without a permit and something goes wrong, the liability chain gets uncomfortable.
Here’s what your homeowner’s insurance policy actually says. Standard HO-3 policies in Florida cover sudden and accidental damage including fire. But they also exclude damage caused by “faulty workmanship” or “negligent repair.” If a self-wired gate operator causes a fire and the insurance adjuster finds unpermitted electrical work, your policy may deny the claim. Worse, if an unpermitted operator repair results in an entrapment injury, you are personally liable, and the insurance company has grounds to deny coverage because the work was outside code.
The Florida Building Code also requires gate operators to comply with UL 325 safety standards. That standard mandates specific force limits, photo-eye placement, and warning signage. A self-installed repair that bypasses a photo-eye, even temporarily, violates UL 325. That’s not a preference. It’s a code requirement. The moment the gate leaves the factory-configured safety envelope, you own the consequences.
Fort Lauderdale sits in a region where a gate can be part of a required security barrier for a pool, or a driveway that opens onto a busy road. The exposure isn’t theoretical. We’ve seen gates that were running for months with a bypassed safety sensor because someone “temporarily” jumpered it and never went back. That’s a child’s arm in a hinge, waiting to happen.
How Fort Lauderdale’s Climate Changes the DIY Calculation
Fort Lauderdale isn’t Phoenix or Atlanta. The environment here works against gate hardware in ways that turn a simple DIY repair into a recurring headache.
Salt air and corrosion. Every metal surface within a mile of the Intracoastal is breathing salt. Hinges rust faster, wiring terminals corrode faster, and even a good weld will bloom with rust if it isn’t primed and sealed immediately. A DIY hinge replacement using a cheap galvanized hinge from a big-box store will be rusty again in eight months. We regularly see swing gates in Victoria Park and Rio Vista where the original hardware was builder-grade steel, and now every bolt head is a brown lump. The right material for Fort Lauderdale is either marine-grade stainless or hot-dip galvanized. It costs more. That’s the cost of the climate.
Humidity and electronics. Condensation forms inside a gate operator housing almost every night in the summer. By morning, the inside of a control board enclosure can be wet. If you open the housing on a humid afternoon and don’t reseal the gasket properly, you’ve just created a path for moisture ingress. The next storm, the board shorts. This is not a failure you’ll see in a dry climate, and it’s why board corrosion on Fort Lauderdale gates is a leading cause of failure.
Hurricane season. Fort Lauderdale gates have to survive wind loads that other regions never see. A gate that works fine in January gets tested in September. Loose hardware that a homeowner tightened without a torque wrench will wallow the bolt holes under hurricane-force gusts. Next storm, the gate swings free and takes out a car, a wall, or worse.
Drainage and standing water. Flash flooding is normal in Fort Lauderdale neighborhoods like Shady Banks and Melrose Park. If a gate operator at ground level gets flooded, the repair involves more than drying it out. Water in the housing means corrosion in the board, the capacitor, the limit switches, and every terminal. That’s a professional repair by default.
What to Document If You Do Complete a DIY Repair
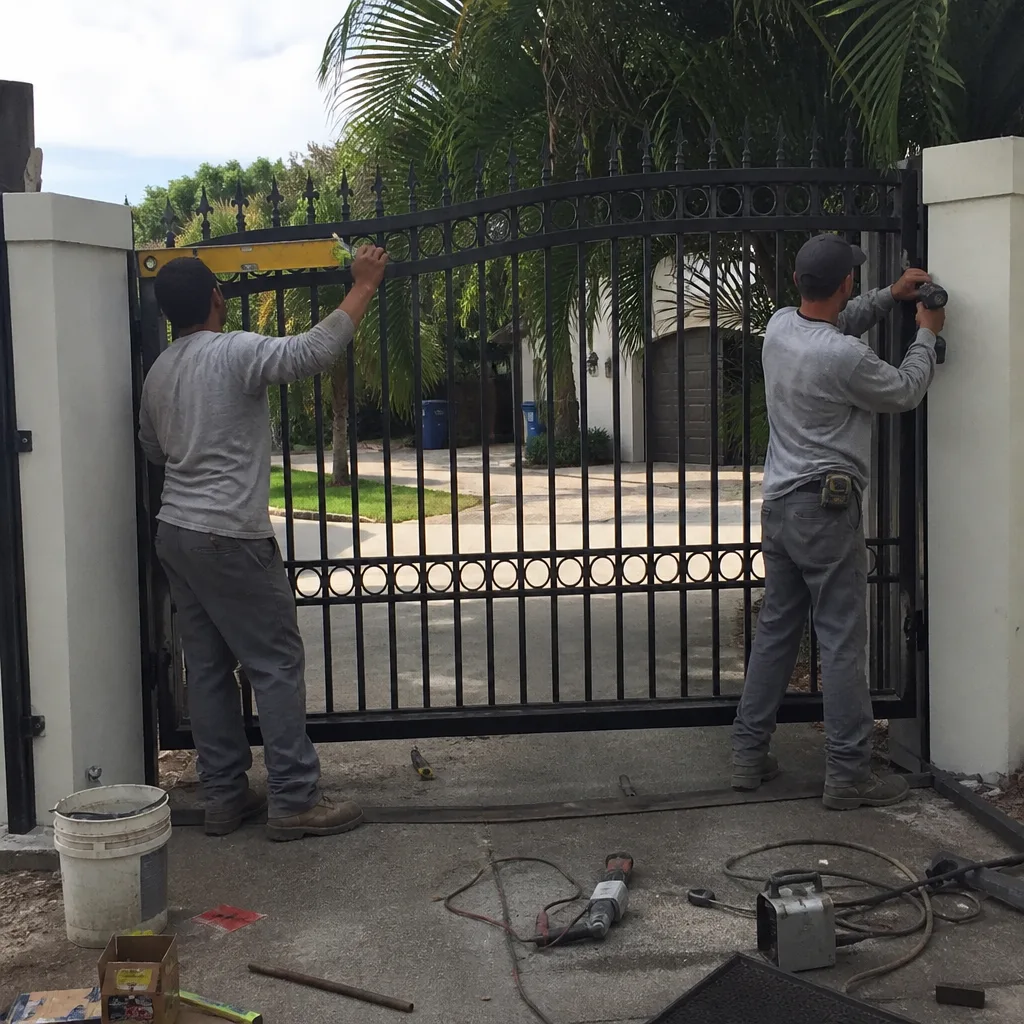
Let’s say you’ve reviewed Gate Repair Maintenance Checklist for Fort Lauderdale Homeowners and you’re doing one of the reasonable tasks. A hinge, a bracket, cleaning the photo-eye, adjusting a mechanical stop. That’s fine. But do this before you put the tools away, because documentation now is the difference between a future technician building on your work versus undoing guesswork.
- Photograph everything before you touch it. Wide shots of the gate from the hinge side and the latch side. Close-ups of each hinge, the bracket, the operator arm, the operator housing, and any junction boxes. This becomes the “before” record that a technician can use to understand what was there.
- Label every wire you disconnect. Use blue painter’s tape and a fine-point Sharpie. Not masking tape, which falls off in humidity. Label the wire and the terminal it came from. Same label on both ends. If there are two red wires, label them before you pull them.
- Write down the part number of anything you replace. Not just “hinge” – the actual stamped number on the old hinge if it’s visible, and the full SKU from the new part’s packaging. A technician who knows the exact hinge spec can tell you whether the replacement was correct or undersized for a Fort Lauderdale gate’s weight and wind load.
- Photograph the finished job. Before and after, same angle. Include a close-up of the new hardware installed. Take a photo of the bolt heads showing whether they’re snug, and a photo of any area where you drilled new holes.
- Keep a note file. One paragraph: what you did, the date, the part number, anything you noticed that wasn’t right before you started. This becomes the written handoff for the next technician. Ten dollars in paper and tape now saves a $200 diagnostic hour later.
We see this from the other side on service calls across Fort Lauderdale. A homeowner does a reasonable repair, doesn’t document it, and the next technician spends an hour figuring out what was original and what was replaced. That diagnostic time is on the invoice. Documentation doesn’t just help the technician. It lowers the next bill.
Parts, Brands, and Compatibility: The Hidden Trap
Gate operators are not commodity hardware. A LiftMaster board doesn’t swap into a FAAC housing. A BFT limit switch won’t fit a Mighty Mule arm. Even within one brand, model revisions change the board pinout, the connector style, and the transformer’s output. If you buy a “compatible” part from an online marketplace and it works for three weeks before smoking a relay, you’ve lost the part cost, the shipping time, and possibly a chain of downstream failures.
The bigger issue is compatibility-driven code. An operator’s control board runs firmware matched to the motor’s torque curve. The force settings are calibrated to that specific motor. Drop in a board from a different model and the gate may slam too hard, too fast, and trip the UL 325 compliant safety margins. That’s the kind of failure you won’t notice until someone gets hurt.
We service nine operator brands: LiftMaster, FAAC, BFT, Linear, Viking, Ghost Controls, DoorKing, Elite, and Mighty Mule. That range matters because Fort Lauderdale gates were installed by different builders over decades, and no two properties have the same setup. A house in Coral Ridge may have a 20-year-old FAAC with a swing arm. A condo on Las Olas might have a LiftMaster with a slide gate. The point isn’t that one brand is better. It’s that the technician needs to know the brand’s wiring logic, not just generic gate wiring. That knowledge prevents the $300 mistake of buying the wrong board.
If you’re determined to buy your own part before calling a technician, at least get the exact model number off the operator’s serial plate, not the marketing name on the manual. “FAAC swing gate opener” is not a model. “FAAC 400 CBC” is. The model number is on a metal or plastic plate inside the housing. Photograph it. That photograph is the single most useful thing you can hand to any professional you call.
What DIY Actually Saves You: A Real Cost Breakdown
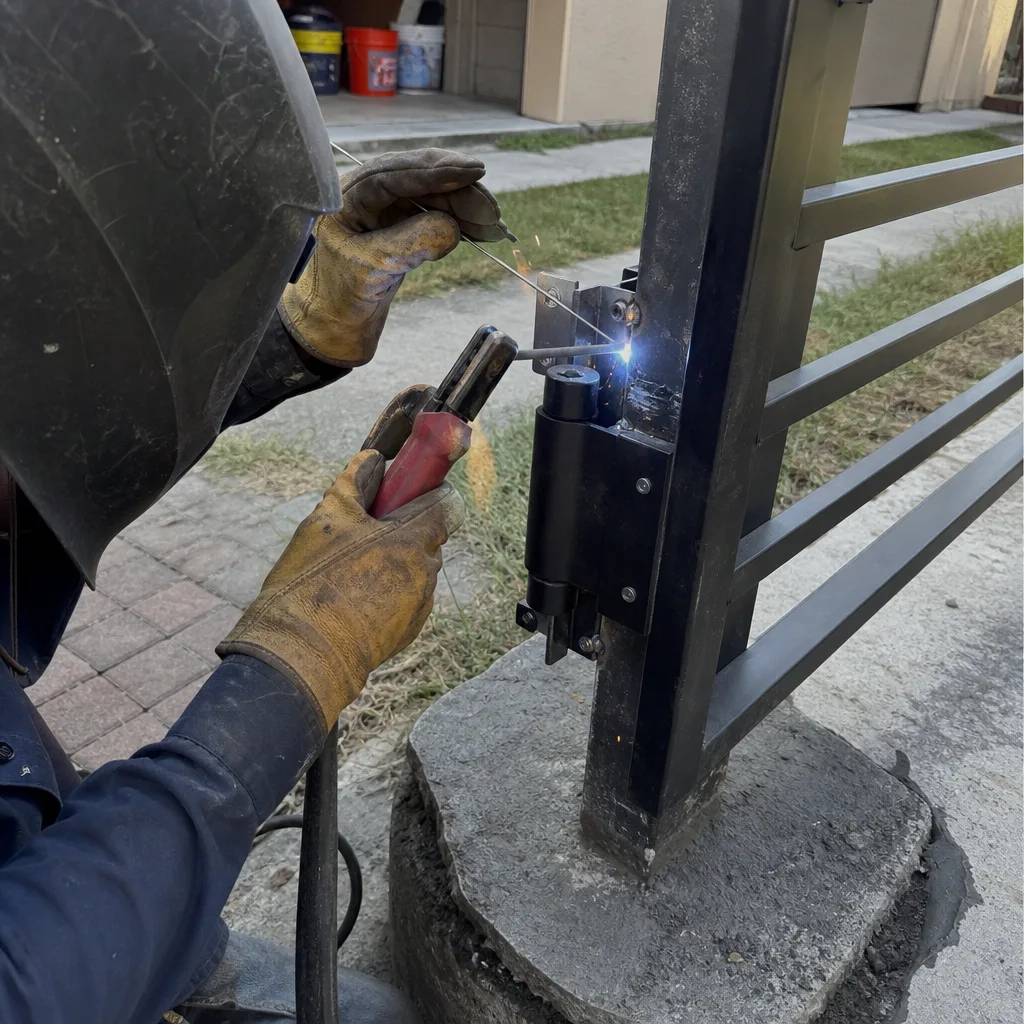
Let’s be honest about money. DIY is cheaper when it goes right. It is not cheaper when it goes wrong. Here’s what these repairs cost in the Fort Lauderdale market, based on what we quote and what we see from the invoices of prior DIY attempts.
Typical Costs for Professional Gate Repair in Fort Lauderdale
- Service call and diagnostic: $75-$150, depending on travel distance from central Fort Lauderdale to areas like Oakland Park or Wilton Manors.
- Hinge replacement (pair): $180-$320, including marine-grade stainless or galvanized hardware and torque-setting to spec.
- Photo-eye alignment or replacement: $120-$220. Often a 20-minute fix if the sensor is clean and just misaligned. If the wire is corroded, it’s a rewire, and that starts at $250.
- Control board replacement: $350-$700, depending on brand and model. The board itself is $180-$400. The labor includes calibration and verifying safety parameters.
- Full swing gate motor replacement: $700-$1,500. Most swing-gate motor replacements run between that range depending on the brand and whether the arm bracket is intact.
- Capacitor replacement: $90-$180. A $20 part, but it has to be the exact spec, safely discharged, and tested under load.
What DIY Costs When It Fails
- Wrong part that fries the board: part cost $40, board replacement $400. Net loss: $440, plus the operator is down for an extra week.
- Improperly sealed housing after a fuse replacement: water ingress, board corrosion, new board plus sealing. $450-$700.
- Unpermitted electrical work that burns a transformer: replace transformer, rewire to code, pull permit. $500-$900.
- Bypassed safety sensor that leads to an injury: unquantifiable. But a single urgent care visit averages $250, and a single lawyer’s letter starts at $500.
And the warranty issue again: a professional repair includes a workmanship record. Our Gate Repair in Fort Lauderdale service always leaves a written price before any work starts and a photo record when the technician leaves. That’s not a marketing line. It’s the only way to prove what was done if a warranty or insurance claim comes up later.
Read more about our approach to Vance Gate Repair Fort Lauderdale home service standards, or explore Gate Installation in Fort Lauderdale if you’re replacing rather than repairing.
Common Mistakes to Avoid
- Using automotive grease on gate bearings. White lithium grease is the standard. Automotive bearing grease attracts sand, which in Fort Lauderdale means a grinding paste chewing through your rollers in a month.
- Assuming “low voltage” means “no risk.” The 120V AC side of the transformer is live at the housing. The capacitor holds a charge after the breaker is off. Both can hurt you.
- Replacing a hinge without checking the gate’s weight. Fort Lauderdale gates are often solid steel or wrought iron for security. That’s heavier than you think. An undersized hinge from a big-box store will snap under the load.
- Jumpering a safety sensor “just to test.” That gate will run fine without the photo-eye, which is exactly why it’s dangerous. You’ll forget to undo it. That’s how entrapment injuries happen.
- Buying a part before identifying the operator model. You need the serial plate inside the housing. “FAAC gate parts” is not a model number. A wrong board is $300 you won’t get back.
- Not resealing the operator housing gasket. In Fort Lauderdale humidity, an unsealed housing fills with condensation. Next rain, the board shorts. A $3 gasket now beats a $400 board later.
- Assuming a DIY repair saves money when the gate is more than ten years old. An older operator may not have compatible replacement parts. The DIY fix you attempt may be the thing that pushes it over the edge into a full replacement.
When to Call a Professional
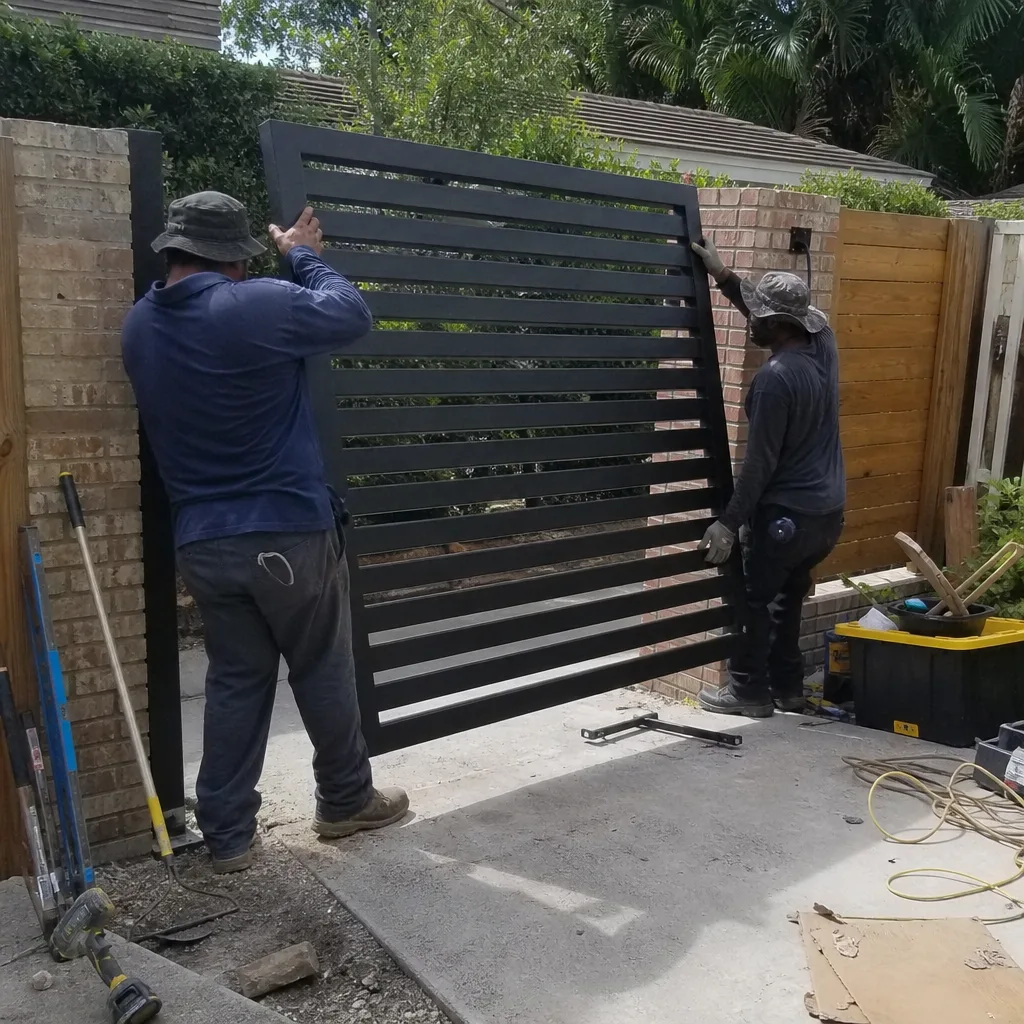
You should pick up the phone when the problem touches the operator housing, any wiring, any safety sensor, or any component bolted to the motor itself. Also call if the gate has been hit by a car, dropped onto its hinge, or soaked in standing water. If the gate makes a grinding noise instead of a smooth hum, stop running it and get it looked at. The grinding is a driven gear chewing through its teeth, and every cycle makes it worse.
We don’t push people toward replacement when a repair is the honest answer. We also don’t pretend that a YouTube video and a leatherman replace a torque wrench and a multimeter. Our Gate Motor & Opener in Fort Lauderdale service starts with a written diagnosis and a written price. No surprise invoice, no handshake-and-hope.
Vance our Gate Repair services offers free estimates in Fort Lauderdale. Call (754) 399-1474.
Frequently Asked Questions
Yes, if the hinge is accessible, the gate is supported, and you use marine-grade or hot-dip galvanized hardware sized for the gate’s weight. Fort Lauderdale’s salt air means cheap galvanized steel rusts within a year. Photograph the old hinge before removal and torque the new bolts to spec. If the gate sags more than a half inch, the problem may be frame stress, not just the hinge.
Running new electrical circuit wiring to a gate operator typically requires a permit in Fort Lauderdale under the Florida Building Code. Replacing like-for-like components inside the housing without a permit is a gray area, but if the work causes fire or injury and it wasn’t permitted, your homeowner’s insurance may deny the claim. Call (754) 399-1474 if you’re unsure whether the work you’re planning crosses the permit line.
Opening the operator housing and altering wiring, replacing the control board yourself, using non-OEM internal parts, or changing force settings without documented calibration all give the manufacturer grounds to deny warranty coverage. If a board fails later and traces back to your work, you’re paying $200 to $500 for the part that would have been free.
Most repairs fall between $120 and $700 depending on the part and the brand. Hinge replacements run $180 to $320. Control boards run $350 to $700 installed. Full swing gate motor replacements run $700 to $1,500. Every repair gets a written price before work starts. Call (754) 399-1474 for an exact quote, estimates are free.
You can, but you shouldn’t. Gate motor replacement involves wiring, force calibration, safety sensor verification, and UL 325 compliance. Get it wrong and the gate can crush a person or pet. The cost of a professional motor replacement includes that calibration and the documentation proving it was done correctly.
Photograph every part before touching it, label every wire you disconnect with tape and marker, write down the exact part number of anything you replace, photograph the finished job, and keep a one-paragraph note of what you did and when. That record saves the next technician diagnostic time and lowers your next bill.
The Bottom Line
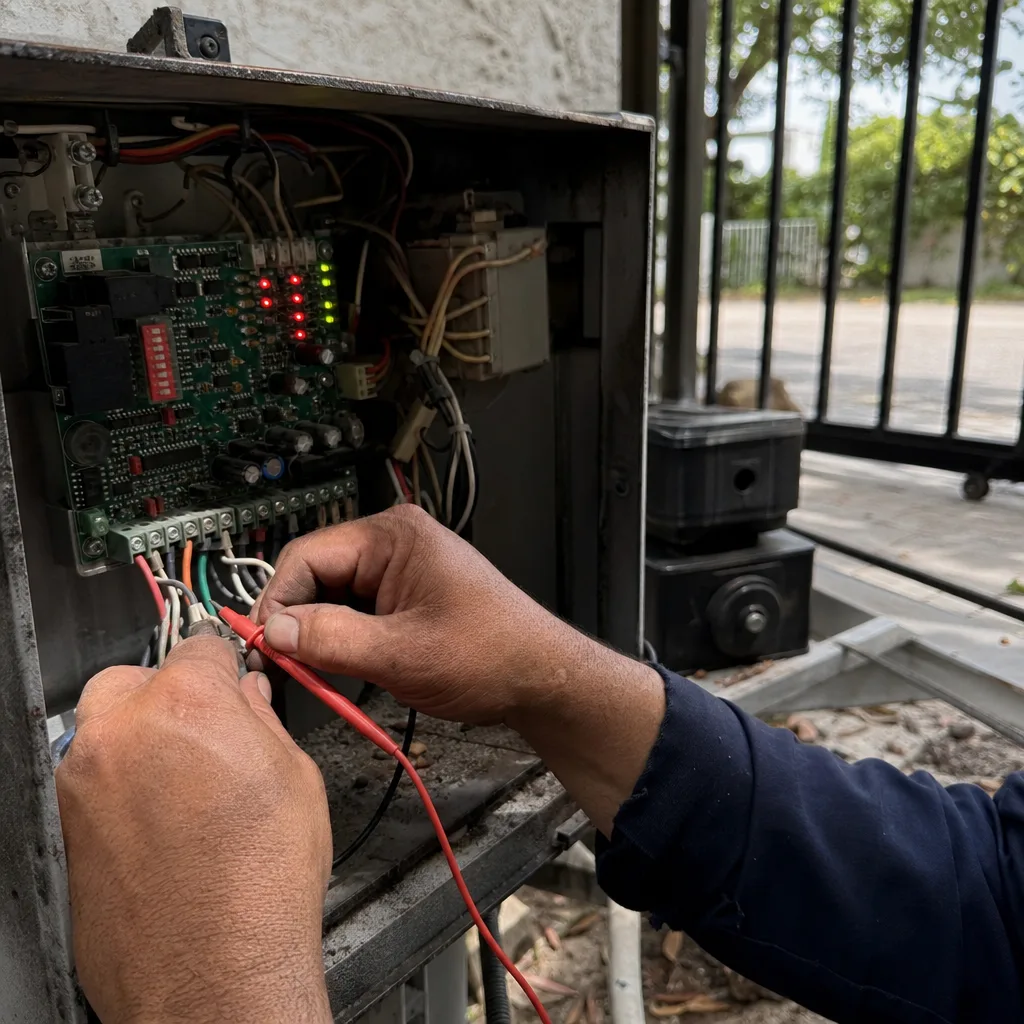
DIY is the right call for mechanical, non-electrical tasks: cleaning photo-eyes, tightens bolts, greasing rollers, replacing a hinge with the right marine-grade part. DIY is the wrong call for anything inside the operator housing: wiring, control boards, capacitors, force settings, safety sensors. The consequence isn’t just a broken gate. It’s a voided warranty, a denied insurance claim, or an injured family member. In Fort Lauderdale, where salt air and humidity accelerate every wiring mistake, the professional line is farther back than you think.
The deciding question isn’t “can I do it.” It’s “if this fails, what does it cost me?” On a hinge, maybe a hundred dollars. On a control board, it’s a warranty and a safety record. That’s the real Fort Lauderdale calculation. If you’re unsure, the estimate is free, and the price is in writing before any work starts. For more guides & resources, visit our blog. Call Vance Gate Repair Fort Lauderdale at (754) 399-1474.
Written by Adrian Vance, Owner at Vance Gate Repair Fort Lauderdale, serving Fort Lauderdale since 2014.