
Last updated September 20, 2026
Free on-site gate assessment - hinges, posts, and your LiftMaster or Nice gate operator checked before anything is quoted
The assessment is free and the quote is the invoice.

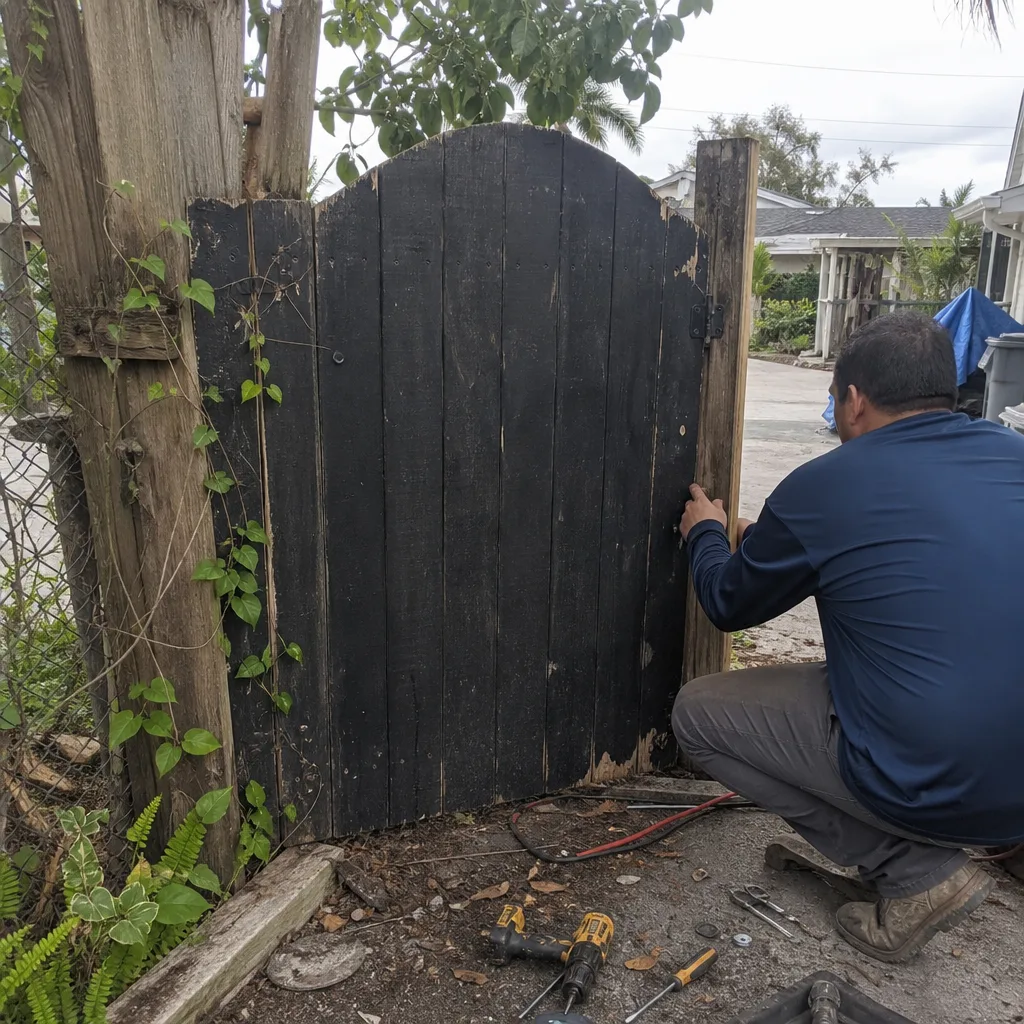 Before
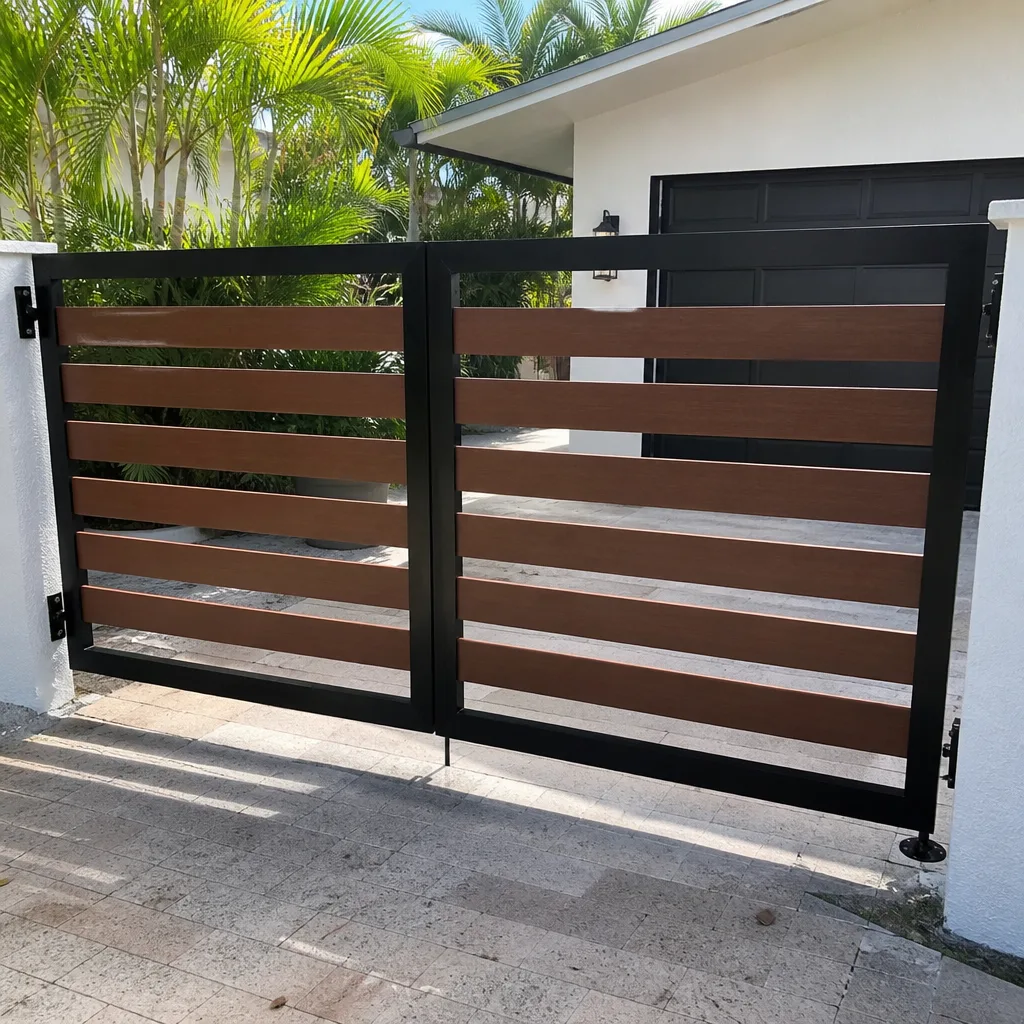 After
After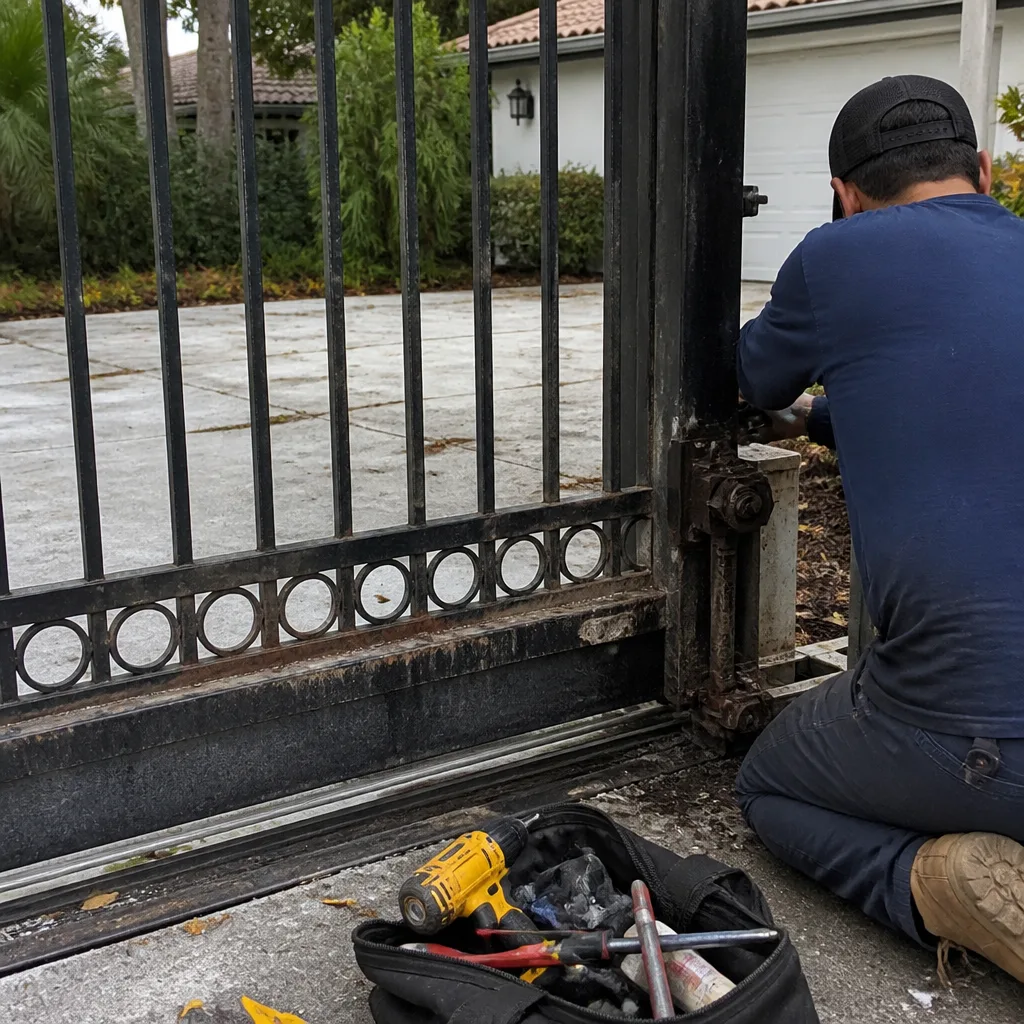 Before
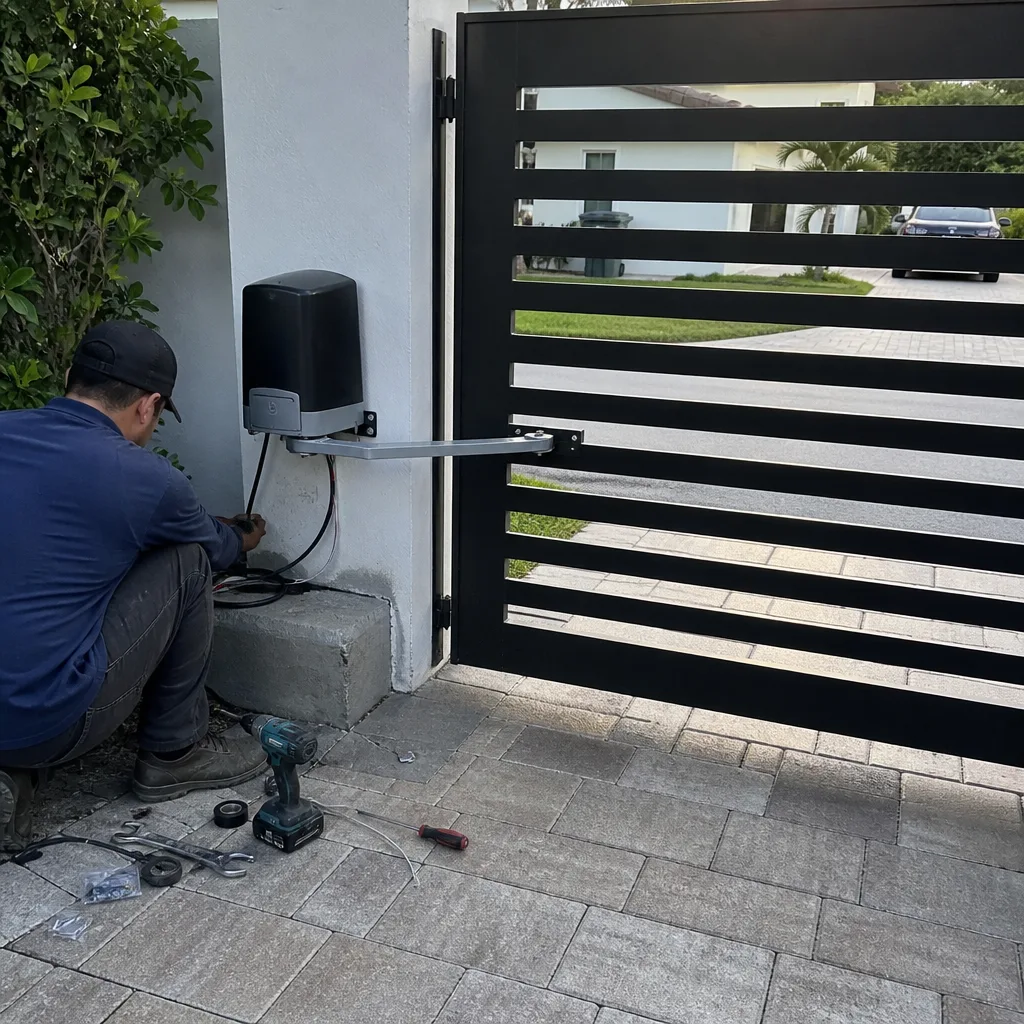 After
After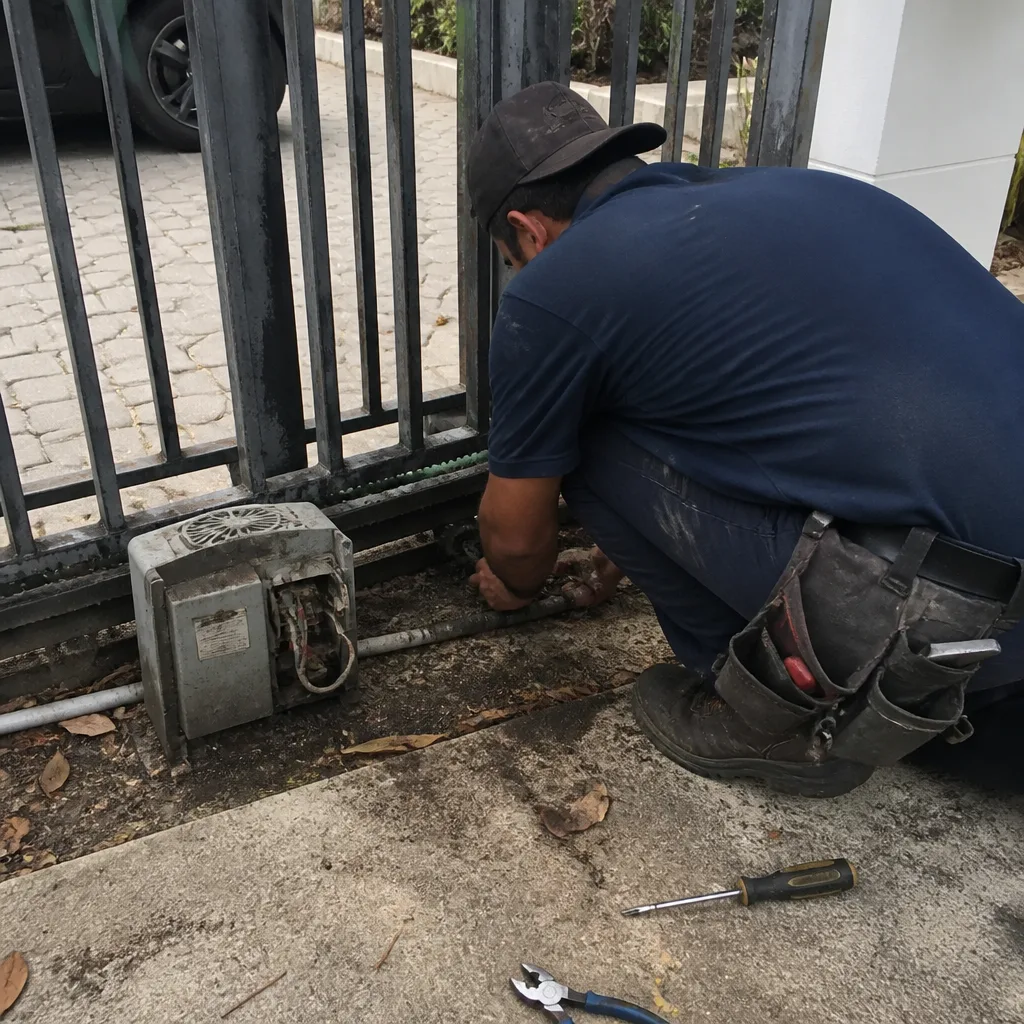 Before
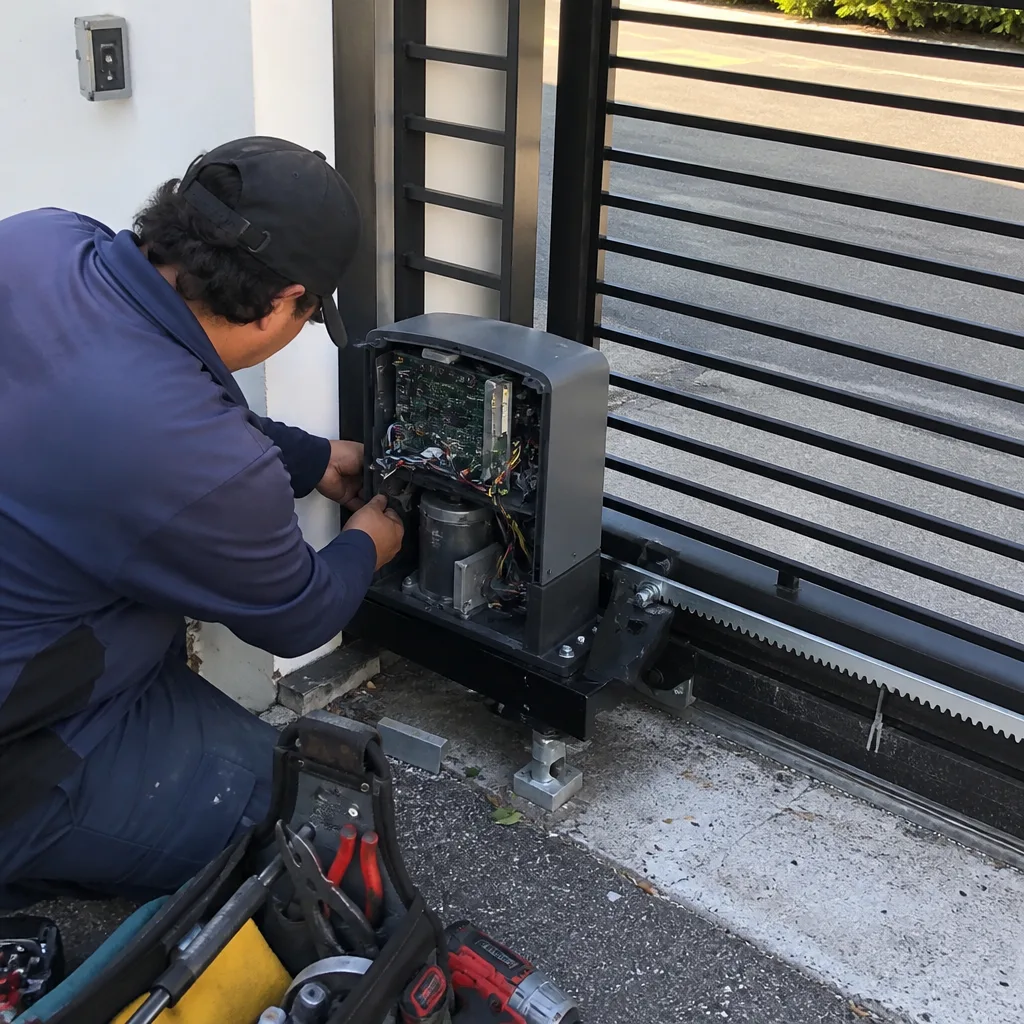 After
AfterGate Repair Maintenance Checklist for Fort Lauderdale Homeowners
Most homeowners find out their gate maintenance checklist was incomplete when the gate fails during a named storm and the repair estimate is three times what annual upkeep would have cost. In Fort Lauderdale, where salt air works on metal year-round and afternoon thunderstorms arrive with near-clockwork regularity from June through September, a generic checklist is worse than no checklist at all. It creates false confidence. A gate that swings smoothly in January can seize in August, and the failure is rarely sudden. It’s the slow accumulation of heat-degraded lubricant, corroded fastener heads, and limit switches that drifted out of calibration one degree at a time. This guide tells you exactly what to inspect, what to measure, what to lubricate with, and what to photograph so that when a technician does arrive, you’re not paying for rediscovery. We’ve repaired and installed 22,000+ gates in Fort Lauderdale and across South Florida since 2014, and the failures we see are predictable. This checklist makes them preventable.
Quick Answer
A gate maintenance checklist for Fort Lauderdale homeowners should cover six areas: hinge and weld inspection, limit-switch calibration, lubricant replacement with heat-stable products, fastener torque checks, photo-eye alignment, and seasonal timing tied to Broward County’s dry and wet seasons. For problems beyond routine care, see our Gate Repair services. The core tasks take about two hours per quarter and cost under $60 per year in materials, and they prevent the failures that typically become $400 to $1,800 emergency repairs.
Table of Contents
- Why Fort Lauderdale’s Climate Makes Gate Maintenance Different
- The Six-Point Gate Maintenance Checklist
- 1. Limit-Switch Calibration: What to Actually Measure
- 2. Lubricants That Fail in South Florida Heat (and What to Use Instead)
- 3. The Five Fastener and Weld Points That Fail First in Coastal Air
- 4. Photo Documentation Protocol: Build a Baseline Before Any Technician Arrives
- 5. Seasonal Timing: Dry Season vs. Rainy Season Tasks in Broward County
- 6. Brand-Specific Maintenance Notes (LiftMaster, DoorKing, Mighty Mule)
- Common Mistakes to Avoid
- When to Call a Professional
- Frequently Asked Questions
- The Bottom Line
BeforeAfterWhy Fort Lauderdale’s Climate Makes Gate Maintenance Different
Fort Lauderdale sits in USDA Hardiness Zone 10b and receives an average of 63 inches of rain per year. The city’s relative humidity rarely drops below 60%, even after a cold front sweeps through in January. For a gate, that means three things before you ever touch a wrench. First, uncoated steel fasteners rust at roughly three times the rate you’d see in inland Florida, and the rust doesn’t just look bad; it elongates the holes it’s set in, which loosens the hinge and changes the swing geometry. Second, standard petroleum-based greases break down in sustained heat. A gate sitting in direct sun on a Fort Lauderdale afternoon can reach surface temperatures above 140°F, which turns thin grease into a runny film that drips off the hinge pin and onto the column. Third, the daily thermal cycle, hot sun followed by evening thunderstorms and rapid cooling, causes aluminum and wrought iron to expand and contract. That cycle works on every bolt, every weld, every gear tooth. Gates don’t wear out from use in Fort Lauderdale as much as they wear out from the weather. A gate repair in Fort Lauderdale is most often a weather-related failure, not a usage-related one.
What this means practically is that the maintenance interval that works in Tampa or Orlando is not aggressive enough here. We tell clients in Fort Lauderdale to run the full checklist twice a year at minimum, with a shorter inspection in between. The difference between a gate that gets a quarterly once-over and one that gets an annual glance is usually measured in years of service life.
The Six-Point Gate Maintenance Checklist
Here is the full checklist in one place. Each item is expanded in the sections that follow, but this is the version to print and carry out to the driveway.
- Measure limit-switch readings against the last documented baseline. Adjust only if travel exceeds the marked position by more than 3 degrees.
- Inspect all five coastal failure points: hinge welds, bottom rail, bolt heads at the post base, gate latch assembly, and motor bracket mounting bolts.
- Replace failed lubricant with a synthetic, heat-stable product on hinges, the chain (if present), and the rack-and-pinion teeth. Wipe off old product fully before reapplication.
- Torque-check or hand-check every accessible fastener. Record which ones moved and by how much.
- Test and photograph the photo-eye alignment, then verify the auto-reverse function with a roll of paper towels.
- Log the date, time, temperature, and what you found. Store photos with the log.
The total time cost is about two hours the first time you do it and under an hour on repeat visits. Materials, if you’re buying the right products, run $15 to $40 per cycle. The alternative is a gate that fails on the night before a family member has an early flight, which is precisely when we get the emergency calls. For Gate Repair Warning Signs: A Fort Lauderdale Homeowner’s Reference Guide, see our blog.
Key Takeaways
- Run the full checklist twice per year in Fort Lauderdale, not once.
- Heat-degraded lubricant is the single most preventable cause of gate motor overload and hinge squeal in South Florida.
- Photograph everything before and after each maintenance session. The baseline record saves diagnostic labor later.
- Never adjust a limit switch without recording the original position. The measurement is the point.
- Five specific fastener and weld points account for the bulk of coastal gate failures we see in Fort Lauderdale.
1. Limit-Switch Calibration: What to Actually Measure
A limit switch tells the gate motor where the open position ends and where the closed position ends. When it drifts, the gate either stops short, leaving an open gap at the post, or overruns and slams into the stop’s mechanical limit, sending shock load through the motor and the rack. Most generic checklists tell homeowners to “check limit switches and adjust as needed.” They never say what “check” means. Here’s the actual method we use on every gate motor and opener service in Fort Lauderdale.
- Cycle the gate to full open. Stand at the post and measure the distance between the gate’s leading edge and the physical stop or the fence line. Note it down.
- Cycle the gate to full closed. Measure the same gap at the closed position. Specifically, measure the gap at the latch point. On a swing gate, you’re looking at the center of the edge; on a slide gate, the point where the gate meets the receiver post.
- Compare against your last documented reading. If you don’t have one, this check is your first recorded baseline. Write down the gap in inches, the date, and the outdoor temperature.
- Check for motor strain. If the gate closes fully but you hear the motor change pitch in the final three inches, the limit switch may not be cutting power at the right point. The motor should stop under light load, not pushing hard into the end of travel.
- Record the reading without adjusting anything on your first pass. Only make a change once you have the current number in front of you.
Here’s the value in the measurement, because this is where most homeowners’ records go wrong. A limit-switch reading should be a number: “3/8 inch gap at closed, 1/4 inch gap at open, 92°F ambient.” It should not be a feeling: “seems fine.” Six months later, when the gap at close is 5/8 inch, you have proof that drift is occurring. We routinely see gates where the limit switch was 12 degrees past travel on the close cycle and the owner’s only symptom was “it makes a weird sound right at the end.” The motor was bending the rack. That’s a $180 fix when caught early and an $800 motor replacement when caught late. This is the difference between checking something and measuring it.
If your gate motor is a LiftMaster, the limit controls are typically behind a small access panel on the motor housing and should click audibly at each contact point. DoorKing operators use limit nuts on a threaded shaft; if the nut is backed off more than a quarter turn from the last mark, that’s your drift. Mighty Mule systems rely on a magnetic limit sensor that’s sensitive to mounting-bolt loosening, and when that happens, the gate stops short and the gate battery drains faster because the circuit stays energized while it hunts.
2. Lubricants That Fail in South Florida Heat (and What to Use Instead)
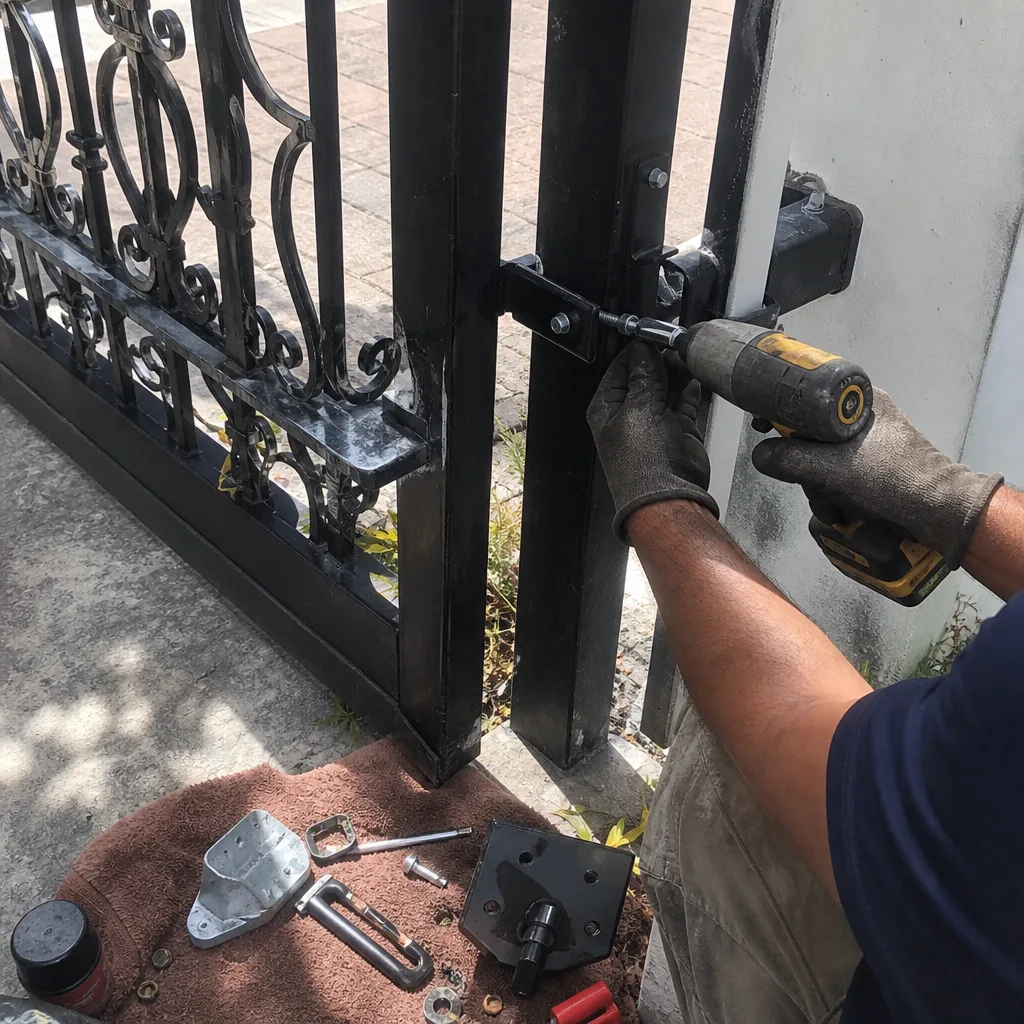
“Lubricate moving parts” appears on every gate maintenance checklist ever written, and it’s nearly useless without the word “which” and the word “what.” South Florida gate failures in August often trace back to a well-meaning homeowner who greased the hinges in February with a product that broke down by May. Here’s the practical hierarchy we’ve learned from thousands of gate installations in Fort Lauderdale.
What fails and why. Standard white lithium grease in an aerosol can flows out thin and is largely a carrier solvent with a lithium soap thickener. It’s fine for interior door hinges in a house. On a gate, sustained surface temperatures above 130°F thin it to the point where it runs down the hinge pin and leaves a dark stain on the concrete. WD-40 is not a lubricant; it’s a water-displacing solvent. It’s useful for unsticking a rusty pin before lubricating, but if you spray WD-40 on a gate hinge and walk away, you’ve removed whatever oil was there and left the metal nearly dry. That’s the single most common mistake we see on coastal Fort Lauderdale properties. Similarly, axle grease from a tub breaks down in salt air through a different mechanism: it absorbs water and forms a gray paste that holds grit like sandpaper.
What to use instead.
- Hinges and gate pins: A synthetic, marine-grade grease rated for 300°F +. Look for a product that says “synthetic calcium sulfonate” or “aluminum complex” on the label. Both are water-resistant and hold their viscosity in Fort Lauderdale’s range.
- Drive chains (slide gates): A chain-specific spray lube with a high film strength, or a light coat of that same marine grease worked into the chain links with a rag. The chain is exposed to rain at the base of the track, so the failure mode here is rust, not heat. Water-resistant matters more than high-temperature here, but get a product that covers both.
- Rack and pinion teeth: A small amount of the same synthetic grease, applied to the teeth with a brush, not sprayed. Spraying puts overspray on the track and attracts dirt. Dirt accelerates rack wear.
- What to do first: Wipe the old product off completely with a clean rag and, if needed, a mild degreaser. Grease over old, degraded grease just means there’s a sticky surface holding road dirt against the moving part.
The humidity concern is as real as the heat. Fort Lauderdale’s air holds enough moisture that any petroleum-based product will eventually absorb water and emulsify. That’s not a cosmetic problem. The emulsion is a poor lubricant, so friction increases, so the motor works harder, so current draw goes up, so the board runs hotter. In Fort Lauderdale, the lubricant you choose is a direct input to motor lifespan, not just hinge squeak.
3. The Five Fastener and Weld Points That Fail First in Coastal Air
We’ve been repairing gates in Fort Lauderdale long enough to know exactly where to look first, as covered in Gate Repair Permits, Codes & Inspections in FL: What You Need to Know. It’s not random. Salt air and thermal cycling concentrate stress on specific points, and after roughly a decade, the same five failures show up across aluminum and wrought-iron gates regardless of brand or installer.
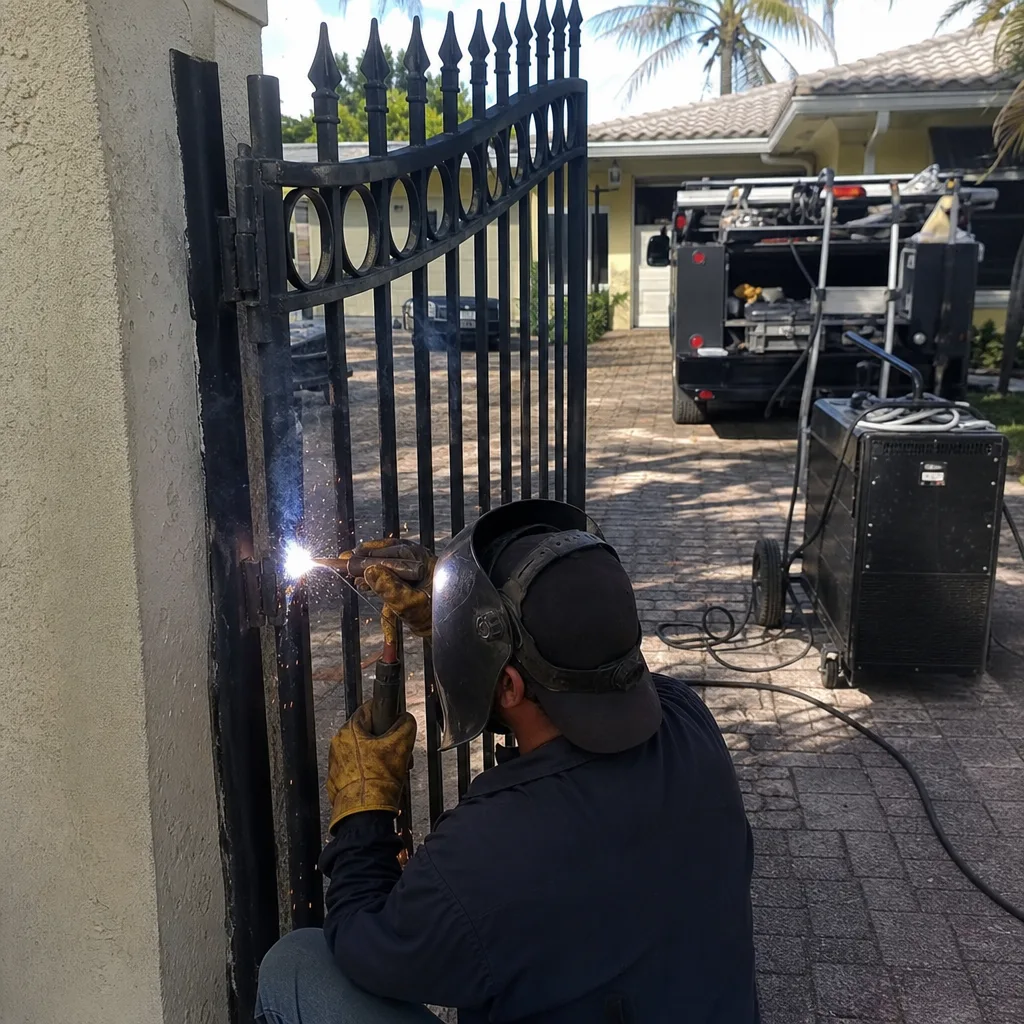
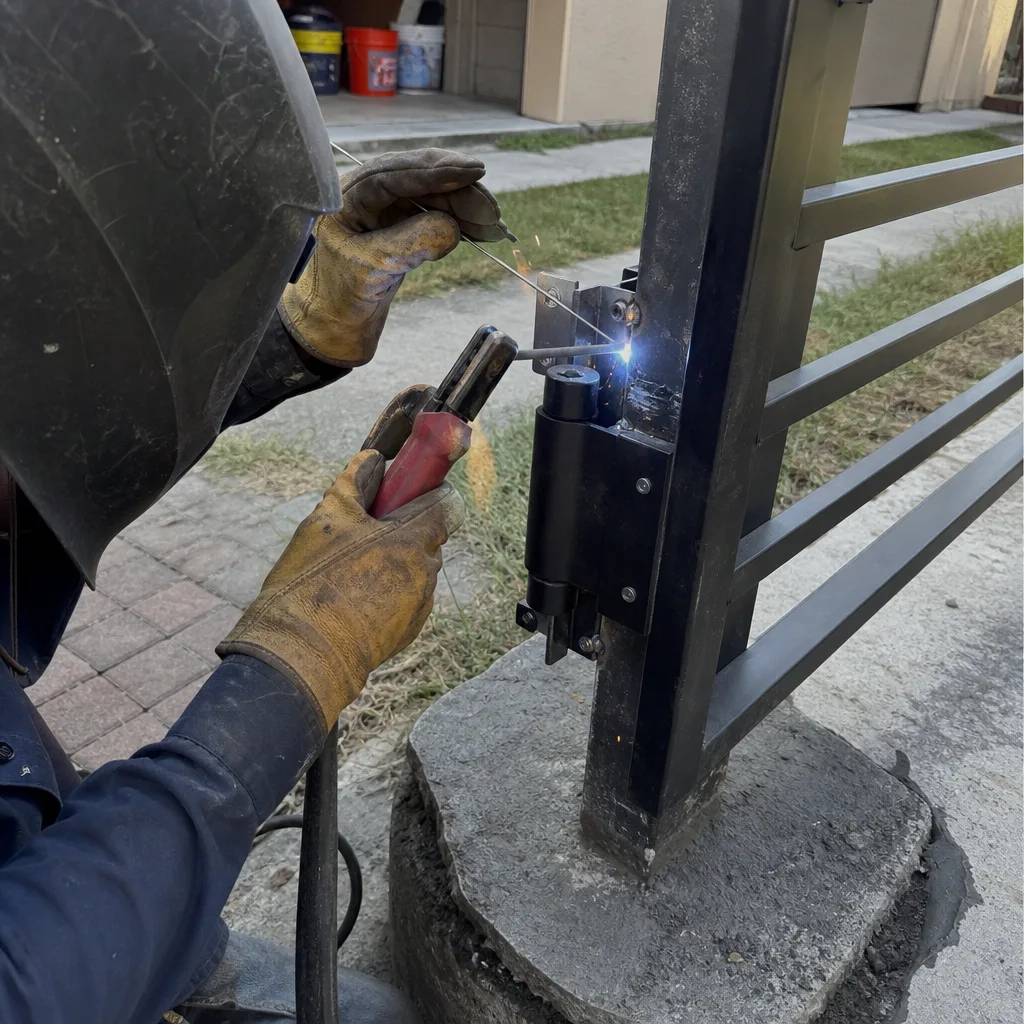
- The bottom hinge weld on swing gates. This point carries the entire weight of the gate plus the leverage of every open-and-close cycle. In Fort Lauderdale, the weld also sits in the splash zone where rain bounces off the drive and constantly wets the lower rail. Look for a hairline crack running along the weld toe, usually visible as a small rust line on a painted aluminum gate. Wipe the weld clean and inspect it in good light every quarter.
- The bolt heads at the post base plate. These are often zinc-plated steel bolts set into a plate at the bottom of the column. Rain pools there, and the bolt heads rust to the point where a wrench can’t grip them. When a post needs to be shimmed or a hinge repositioned, a rusted bolt head adds an hour or two of labor, which is the kind of cost that shows up as a surprise line item. We recommend a light smear of marine grease on the heads once a year, which costs 25 cents and saves $100 in labor later.
- The gate latch assembly. The latch is a moving part in the direct path of every rain storm. The internal spring is the first thing to fail because it’s small, it’s under tension, and it’s rarely lubricated. When the spring goes, the latch either won’t retract or won’t hold, and the gate bangs against the receiver post in the wind. A banging gate is a bending gate.
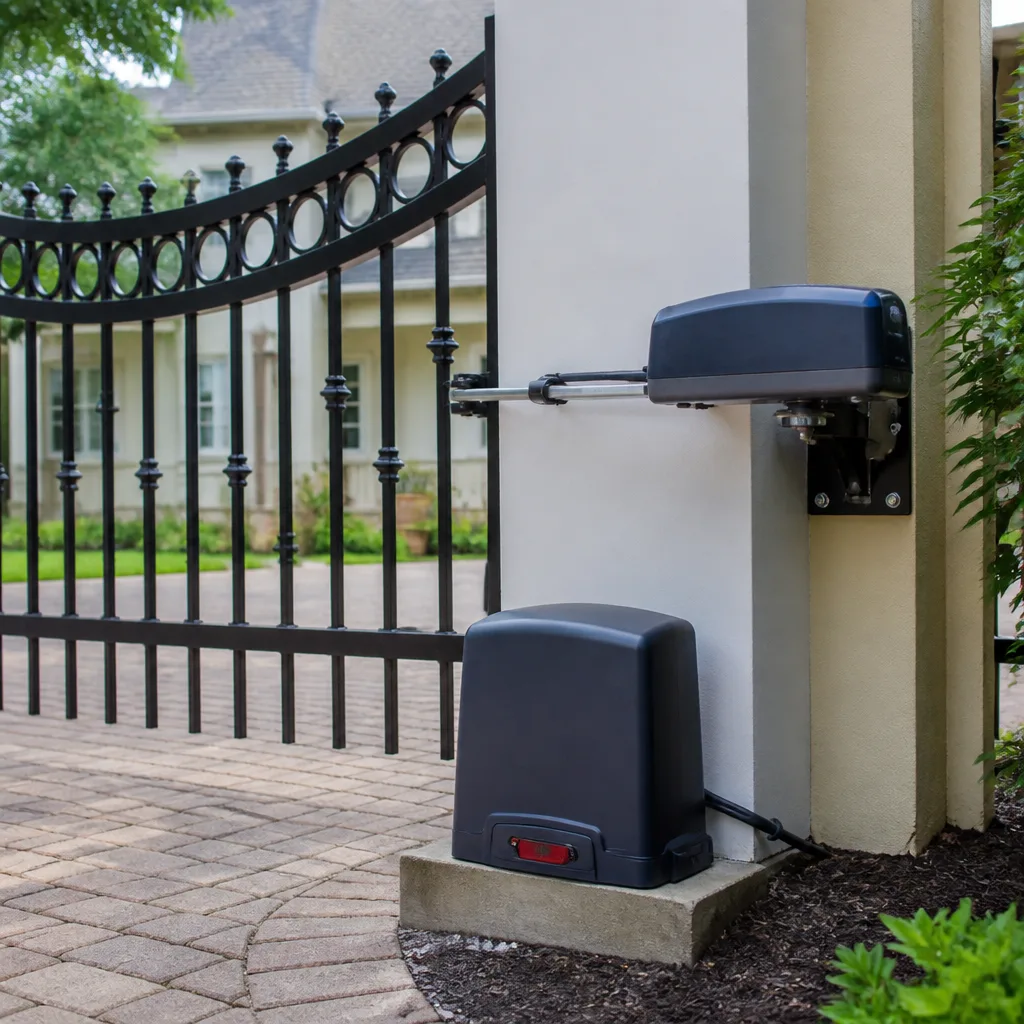
- The motor bracket mounting bolts. The motor bracket bolts into the gate or into a pad at the end of the track. Every open cycle produces a small vibration load on those bolts. Over years, that’s thousands of micro-impacts. In salt air, corrosion loosens the metal’s grip on the threads, and then you have both loosening and rust. Check these with a wrench in hand, not just by eye. A bolt that looks fine can be two full turns loose.
- The bottom rail and the first picket on aluminum gates. Aluminum is extruded with a thin oxide layer that forms almost immediately, which is good, but that layer is porous. Chloride from Fort Lauderdale’s ocean air penetrates those pores and starts filiform corrosion, which looks like squiggly white lines under the finish. Once it starts in the bottom rail, the rail’s structure is compromised from inside. The practical response is to rinse the bottom rail with fresh water once a month during the dry season, when salt accumulates without rain to wash it away.
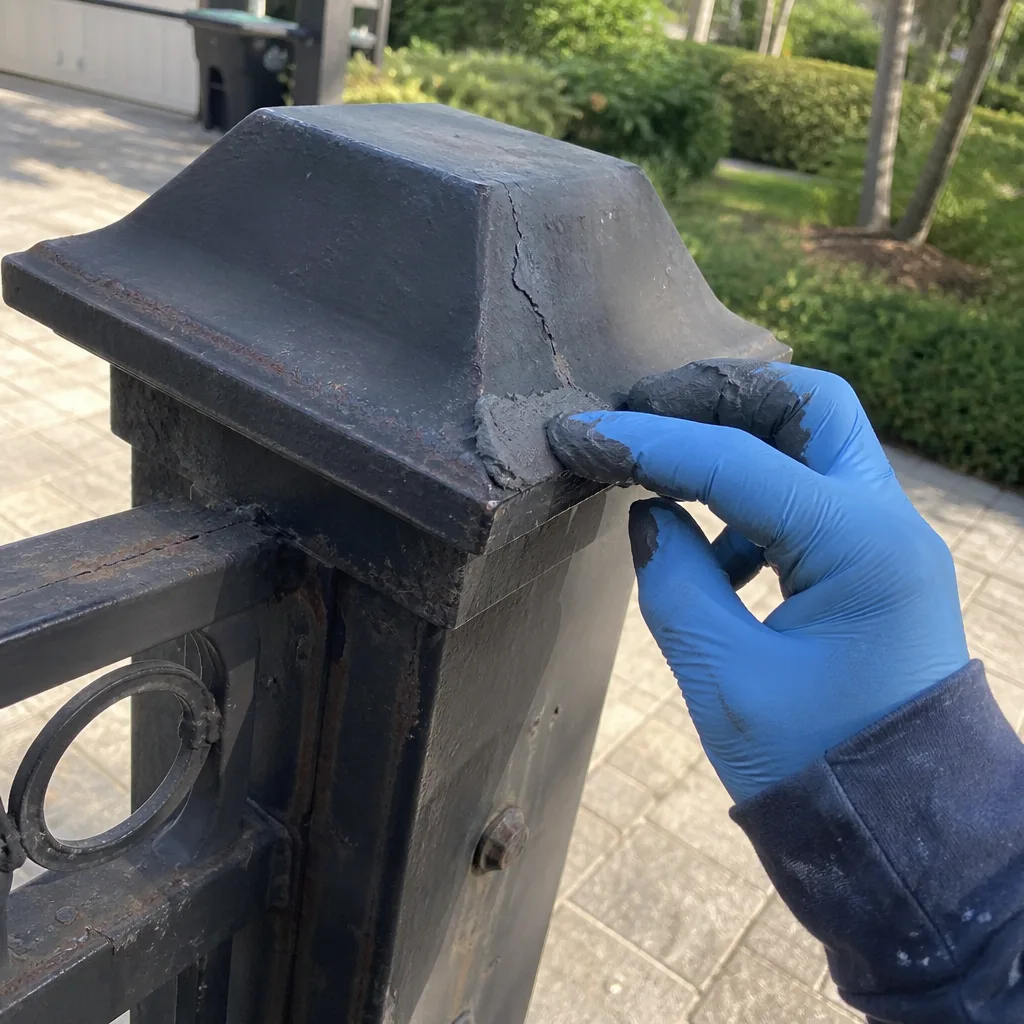
If you find a cracked weld, do not attempt a temporary fix with hardware-store epoxy. A weld failure on a moving gate gets worse quickly, and epoxy creates a false repair that makes the eventual professional repair more expensive because the contaminated area has to be cleaned before proper welding can happen.
4. Photo Documentation Protocol: Build a Baseline Before Any Technician Arrives
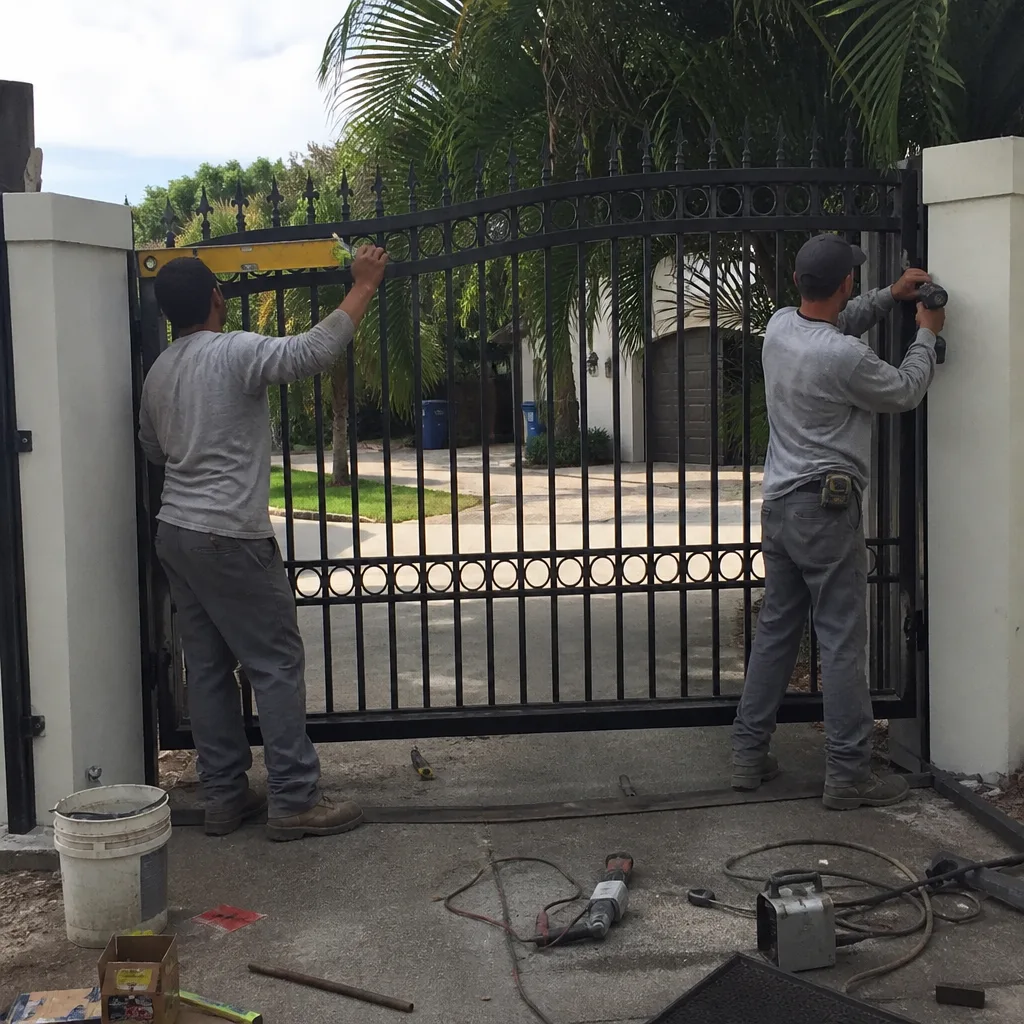
This is the step that separates homeowners who get an accurate diagnosis over the phone from homeowners who get an estimate that has to be revised after the first visit. A photo baseline is not just for our technicians; it’s for you, so you have a record of what was true six months ago and so any technician you hire starts from evidence, not from a cold open. Under The Haven Standard we follow on every Fort Lauderdale visit, every job includes a documented photo record of what was found, what was adjusted, and what was replaced. That record is yours to keep, and the same habit works on the homeowner side before we ever arrive.
Here’s the protocol, step by step.
- Photograph the closed gate head-on. Stand straight in front, with the gate fully closed and the latch engaged. This is your reference image for alignment. If the latch gap changes over time, comparing two head-on photos from the same position will reveal it.
- Photograph both full-open and full-closed positions from the side. The side view shows the gate’s relationship to the post and the stop. It’s the photo that matters for limit-switch drift.
- Photograph each hinge at close range, with a flash or in direct sun. The flash illuminates hairline cracks in the weld. Without flash, a crack in shadow is invisible.
- Photograph the motor bracket, the chain (on a slide gate), and the rack teeth. Frame them close enough that a future you or a future technician can zoom in and see a single tooth or a single bolt.
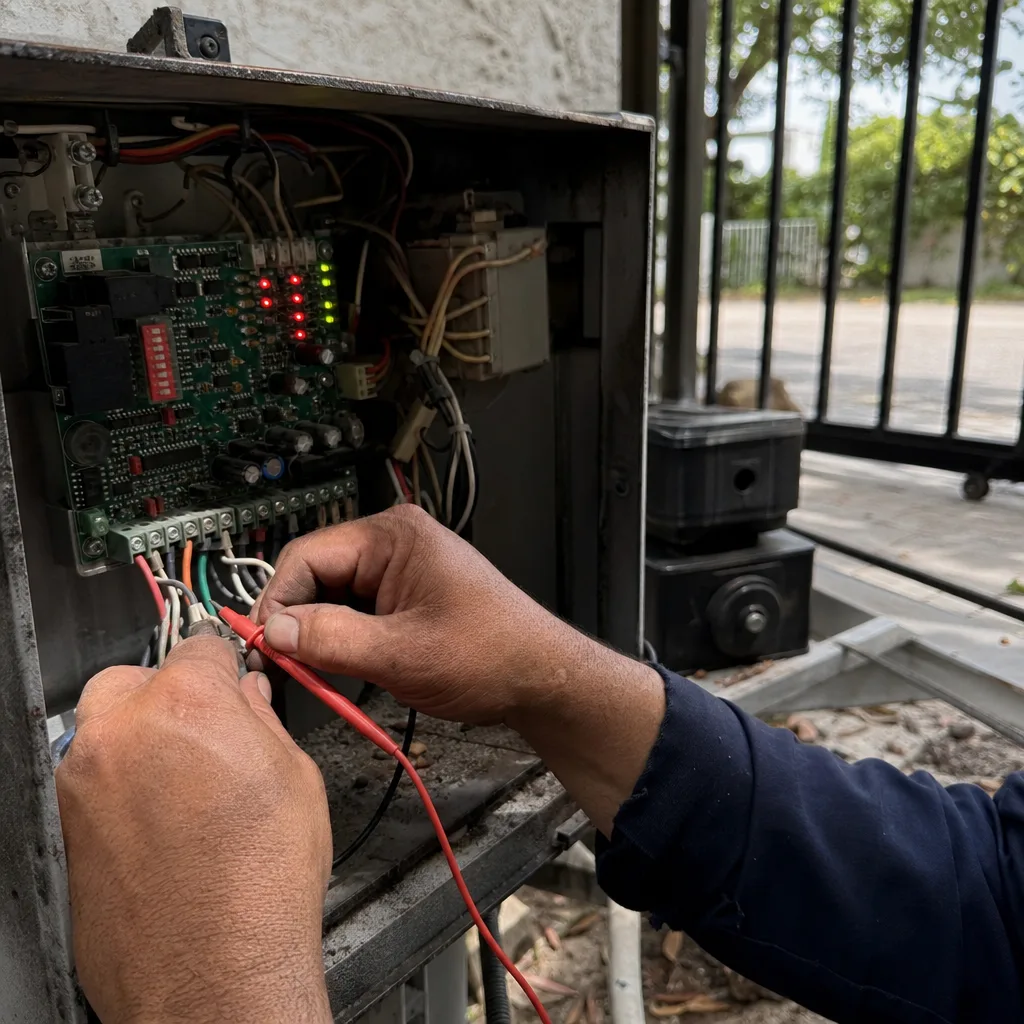
- Photograph the control board with the cover off. Many solar or standby gate systems have an LED status light. The color and blink pattern is diagnostic. A month later, if the light’s changed, that’s data.
- Store all photos in one folder labeled with the date. When a technician arrives, you can hand over a record that prevents time lost to guesswork and, more importantly, prevents a new technician from charging you to rediscover something you already documented.
On a twice-a-year schedule, this photo set takes six minutes to shoot and four minutes to file. The first time you do it, the value is invisible. The second time, you have a comparison. By the third time, you have a maintenance log that any professional will read at a glance and that makes your gate’s problems transparent to anyone who works on it. This is information gain, in the most practical sense, for both you and for anyone you hire.
5. Seasonal Timing: Dry Season vs. Rainy Season Tasks in Broward County
Fort Lauderdale has two seasons, and they demand different maintenance emphases. The dry season runs roughly from November through April. The rainy season, from June through September, brings afternoon convective storms that deliver more rainfall in two hours than a northern city gets in a month. May and October are transition months.
Dry season tasks (November through April). This is the season for weight-bearing and alignment work. The ground is firmer, which means post movement is slower and gate geometry is more stable. Run the full six-point checklist in November, then do a shorter follow-up in February or March.
- Inspect all five failure points, weld cracks and bolt heads especially.
- Measure limit-switch positions and record baseline numbers.
- Clean the bottom rail and rinse it with fresh water to remove accumulated salt from the previous summer.
- Check the control board and check for ant or lizard intrusion. Dry-season pests nest inside warm electronics boxes all over Broward County.
Rainy season tasks (June through September). This is the season for water-management and lubrication tasks. The gate sees standing water, wind gusts, and repeated cooling from daily storms. Run a focused inspection in June and re-check the critical points monthly through September.
- Re-apply and refresh lubricant on all moving parts. Heat plus humidity degrades lubricant faster this season than any other time of year.
- Check the drain path at the base of the gate and around the track. Standing water that pools at the bottom rail accelerates filiform corrosion on aluminum.
- Test the auto-reverse function after every major storm. Debris and shifted posts can knock a photo-eye out of alignment, and the auto-reverse is the primary safety system.
- Re-check the latch spring monthly. Storm-force wind against an unlatched gate turns a swing gate into a sail, and the resulting force transmits to the hinge and the motor. A $12 latch spring prevents a $700 hinge-and-motor repair.
Hurricane preparation is part of the rainy-season checklist. Before a named storm threatens Fort Lauderdale directly, manually close the gate and lock it, then disconnect the operator from the gate. There are two reasons. First, a locked gate will not be driven back and forth by wind loads, which removes the most violent stress. Second, if the power goes out and the operator is still connected, a battery-backup unit may attempt a full cycle at the exact wrong moment, and that’s how racks get bent during storms. Reconnect after the storm passes and you’ve confirmed the gate is undamaged.
6. Brand-Specific Maintenance Notes (LiftMaster, DoorKing, Mighty Mule)
Your maintenance checklist doesn’t change by brand, but the failure modes do. Here are the brand-specific points we look for on the gates we service in Fort Lauderdale. If you own a LiftMaster gate operator, the points to watch are the limit-switch contacts and the belt tension, which loses tension as the belt heat-cycles. A slack belt shows up first as a squeal on opening and a jerky motion, and if you hear either, the belt has stretched and is slipping against the sprocket. For DoorKing operators, which are common on Fort Lauderdale swing gates and often specified on condominium gates, the known issues are the limit nuts on the threaded shaft drifting and the internal fuse holder corroding. The limit-nut drift we covered earlier; the fuse holder is vulnerable because it sits in a housing that isn’t fully sealed, and coastal humidity corrodes the contacts to the point where the unit only works intermittently. Check that fuse holder twice a year. For Mighty Mule systems, which are the most common DIY-installed gate systems in Broward County, the perennial issue is the battery, specifically the lead-acid battery baking in the sun inside a black control box. In Fort Lauderdale, that box gets hot enough to shorten the battery’s life from five years to three. Check the battery terminals for white corrosion each quarter, and if the battery is more than three years old, budget for a replacement before it dies entirely. The other Mighty Mule failure mode is the magnetic limit sensor, which loosens from its mounting bracket and then reads the wrong point, so the gate stops six inches early or runs closed against the stop.
The point is not to become a gate technician yourself. The point is to know what to photograph and what to report. When you call a professional and can say “the DoorKing limit nut on the open side has backed off two turns since May,” the conversation that follows is entirely different from one that starts with “something’s wrong with the gate.” And in our experience, that conversation is shorter and the job goes faster, which is the same thing as less expensive.
Common Mistakes to Avoid
- Using WD-40 as a hinge lubricant in Fort Lauderdale. It’s a solvent, not a lubricant. It strips whatever oil is present and evaporates, leaving bare metal in the most corrosive air in the state. Use a marine-grade synthetic grease instead.
- Adjusting a limit switch without recording the original position. The adjustment may fix the current problem, but without the before-and-after numbers, the next technician has no baseline, and you pay for the rediscovery. Record before you touch.
- Painting over a cracked weld. Paint covers the crack without fixing it, and the crack continues to propagate underneath. By the time it’s visible through the new paint, the repair is more extensive and more expensive than it would have been.
- Running the exact same checklist year-round. Fort Lauderdale’s seasons are real, and a dry-season inspection should focus on salt and wear, while a rainy-season inspection should focus on water, storm damage, and pest intrusion. The task list should shift.
- Ignoring the latch spring. A failing latch spring doesn’t stop the gate from working, so homeowners defer the fix. But a gate that doesn’t latch in a storm wind is a lever pressing on the hinge and the motor all night. Fort Lauderdale gates that don’t latch become Fort Lauderdale gates that don’t hang straight.
- Deferring a battery replacement on a Mighty Mule or other battery-backup operator. In the Fort Lauderdale heat, batteries degrade faster inside black control boxes. A three-year-old battery that still works is a four-year-old battery that won’t.
- Not documenting anything. A maintenance log with photos and measurements doubles the life of the professional service call by giving the technician a starting point. Most homeowners don’t have one, and they pay for the discovery work every single time.
When to Call a Professional
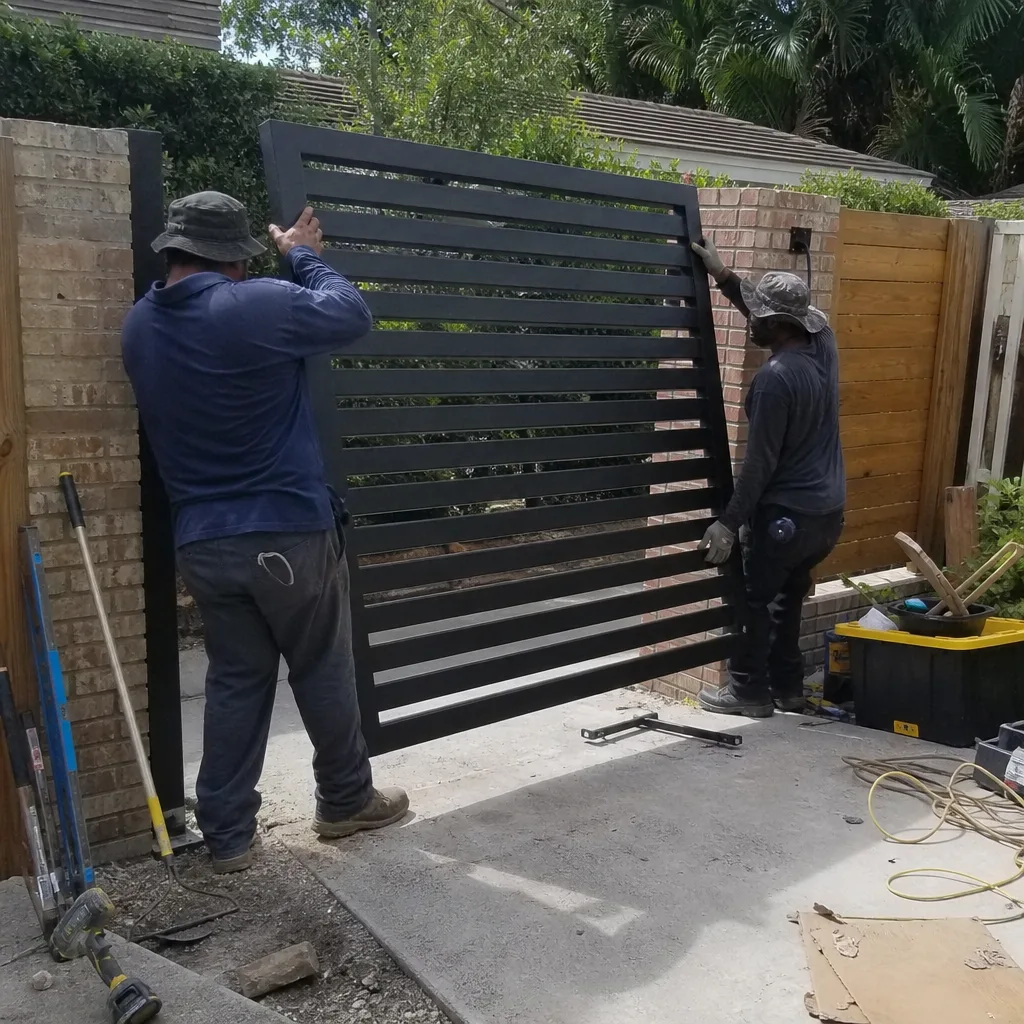
This checklist covers inspection and light maintenance, but several situations call for a trained technician with the right equipment. A cracked weld requires welding, which is a skill and a liability issue, not a weekend project. A gate that hums but doesn’t move suggests the motor capacitor or the control board, both of which involve electrical work and potential component replacement. Any adjustment that changes the force of the gate, such as replacing a heavier gate panel or modifying the post, changes the safety-relevant settings that the auto-reverse system relies on. If the gate is over 400 pounds or you’re working on the motor, the force involved is enough to cause serious injury, and the safety systems should be verified by someone who understands them. Vance Gate Repair Fort Lauderdale offers free estimates in Fort Lauderdale. Call (754) 399-1474, and a live person answers, any hour, any day. Before any work starts, you’ll have a written price, and after the visit, you’ll have a photo record of what was found and what was done.
Frequently Asked Questions
Run the full six-point checklist twice a year in Fort Lauderdale: once in November at the start of the dry season and once in June at the start of the rainy season, with a shorter re-check of the hinge, latch, and photo-eye alignment after any major storm. The salt air and humidity demand a more aggressive schedule than inland Florida.
Most gate repairs in Fort Lauderdale run between $180 and $1,800, depending on whether the failure is a limit-switch adjustment, a chain replacement, a new control board, or a motor replacement. Simple alignments and limit-switch resets are usually on the low end, while motor replacements on heavy slide gates are on the high end. Call (754) 399-1474 for an exact quote. Estimates are free and the price is written before any work starts.
No. WD-40 is a water-displacing solvent, not a lubricant, and it strips away the grease or oil that was protecting the hinge pin. On a Fort Lauderdale gate, that’s a guaranteed path to squealing hinges and accelerated rust. Use a marine-grade synthetic grease instead.
A full gate maintenance visit includes a limit-switch check and adjustment, lubricant replacement on all moving parts, fastener torque and corrosion inspection, photo-eye alignment and auto-reverse testing, and a documented photo record of everything found and everything adjusted. The written price is delivered before any work begins.
The most common cause in Fort Lauderdale is a misaligned photo-eye, often knocked out of position by wind, debris, or a loose mounting bracket. The second most common cause is the limit switch reading the wrong position, which tells the motor it has reached full open when it’s only halfway there. Both are repair items that a technician can diagnose and fix in one visit.
Yes. The math is direct: a twice-a-year maintenance cycle costs under $60 per year in materials and a few hours of time, while the repairs that maintenance prevents commonly run between $400 and $1,800. In Fort Lauderdale’s salt air, deferred maintenance reliably becomes a gate replacement within a decade. Call (754) 399-1474 for a maintenance estimate, and you’ll have a written price before anything is done.
The Bottom Line
A gate maintenance checklist only matters if it’s specific to the climate where the gate actually lives, and Fort Lauderdale’s climate is unlike anywhere else in the country. Salt air, 63 inches of rain, and surface temperatures above 130°F mean that the products, the schedule, and the inspection points all need to be chosen for this place. The five fastener and weld points covered here fail first on Fort Lauderdale gates; the limit-switch measurements described here turn a vague “check it” into an actual number you can trend over time; and the photo protocol turns every future repair into a faster, cheaper, more accurate visit. Print the checklist. Run it twice a year. And when something falls outside the bounds of a homeowner inspection, you have a Fort Lauderdale gate specialist who answers the phone 24/7 and hands over a written price before the first tool comes out. That’s the entire point of the record. Call (754) 399-1474 for a free estimate, and get it in writing before any work begins.
Written by Adrian Vance, Owner at Vance Gate Repair Fort Lauderdale, serving Fort Lauderdale since 2014. Explore more guides & resources.